It’s almost impossible to buy a bundle of banana’s & eat them all at the desired ripeness before they end up getting all mushy and bruised, at least this is my experience. There are a plethora of ways to use bananas after they have gone past their due date but let’s be honest, the tastiest & easiest way to use up those bananas is turning them into bread.
I put off making banana bread for years because I thought it was going to be incredibly time consuming, take a bunch of ingredients that I would never use again, & be too difficult. That was until one day I was bored out of my mind, had a bundle of ‘gone bad’ bananas & a couple of spare hours on my hands.
PREP TIME: 15 minutes
COOK TIME: 1 hour
SERVING SIZE: 12
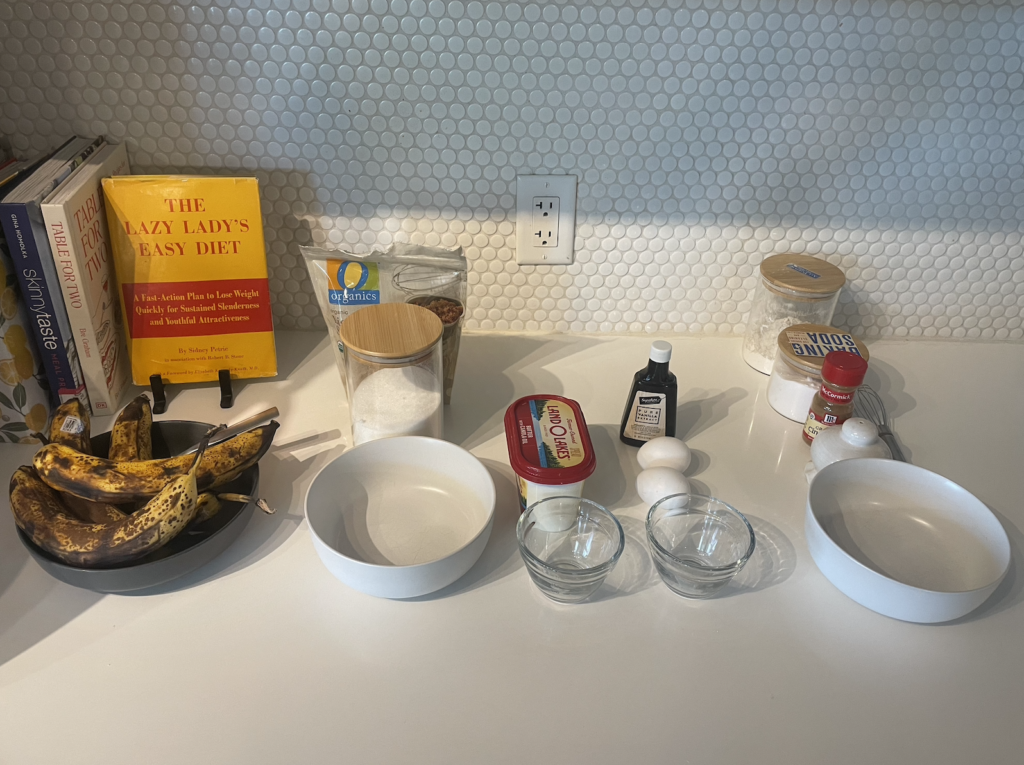
Ingredients
I walked into this recipe completely prepared with the fact that I would most likely end up having to make a run to the store for ingredients I didn’t have yet. To my amazement, banana bread takes very few ingredients that I already had in my pantry. This is amazing because I am in no way shape or form a baker. I have only ever made one singular batch of chocolate chip cookies in my life. So, if you’ve ever made cookies, I bet you have all the ingredients on hand too!
2 cups all purpose flour
1 tsp baking soda
1/2 teaspoon salt
1 teaspoon cinnamon
1/2 cup softened butter, I use salted you can definitely use unsalted
1/2 cup brown sugar
1/4 cup sugar
2 eggs
1 teaspoon vanilla extract (I like to put an extra dash)
1 1/3 cups mashed bananas
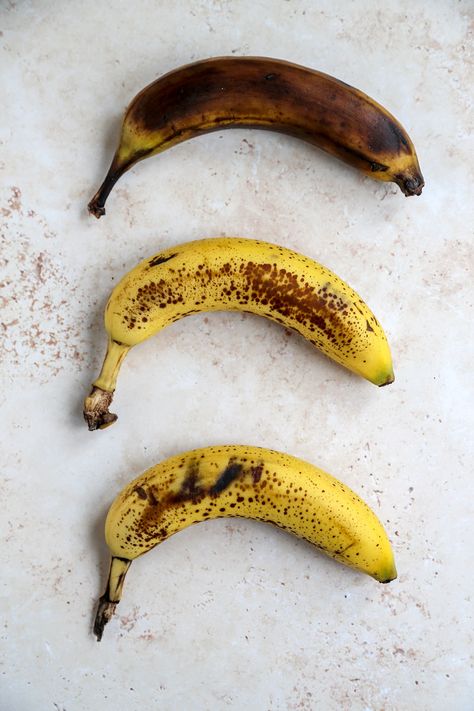
Let’s Talk Ripeness
I’ve made this recipe twice. Once when the bananas were spotted, like the bottom two bananas, and once when the bananas were completely blackened like the top banana. The B bread was more sweet the more blackened the peel was. It was also easier to mash.
If your bananas have blackened but you don’t have time to bake, throw them in a plastic bag and store them in the freezer until you find time. Make sure to thaw the bananas before baking the bread.
If you need to make banana bread NOW but your bananas aren’t ready, preheat your oven to 300, line a baking sheet with parchment paper and bake for 30 minutes to ripen! Just make sure to let them cool off before you try to peel or mash them.
The Step-By-Step
Before you get started, I find it easiest to measure out all ingredients that will be poured in together at the same time and put them into separate dishes so you’re ready to just dump & go! This step is unnecessary and does make for extra dishes but it does help to ease stress and keep things organized. Here’s what you will need to have separated out into different bowls:
LINE UP 1
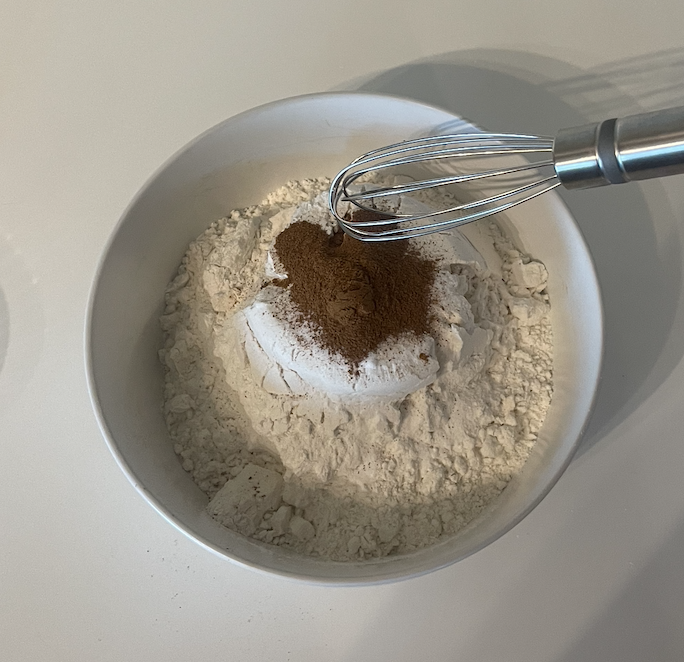
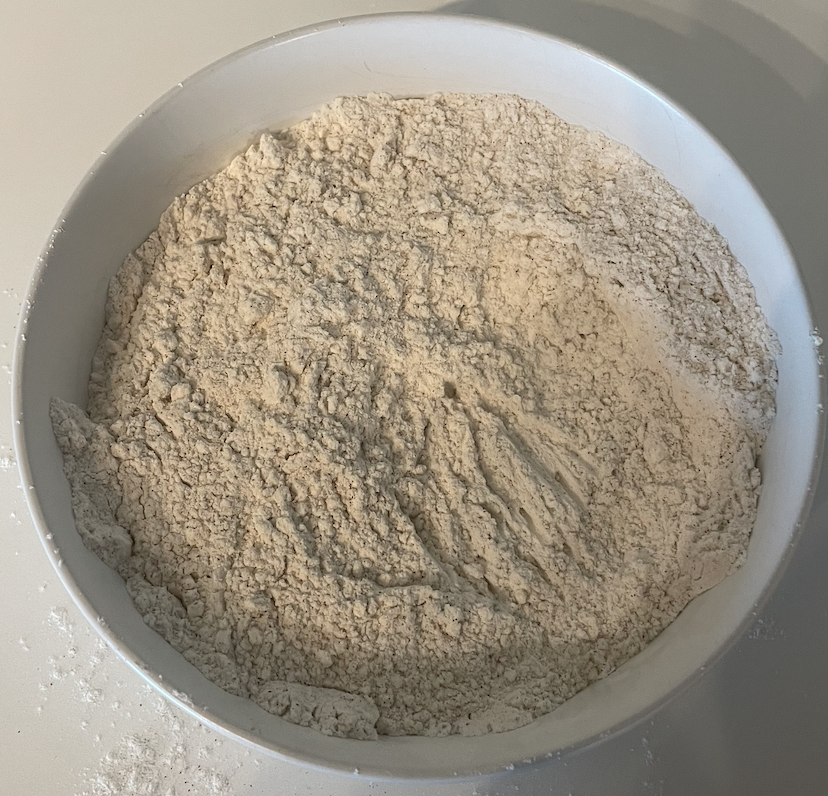
These can be combined into a small bowl and whisked together.
Flour, baking soda, salt & cinnamon
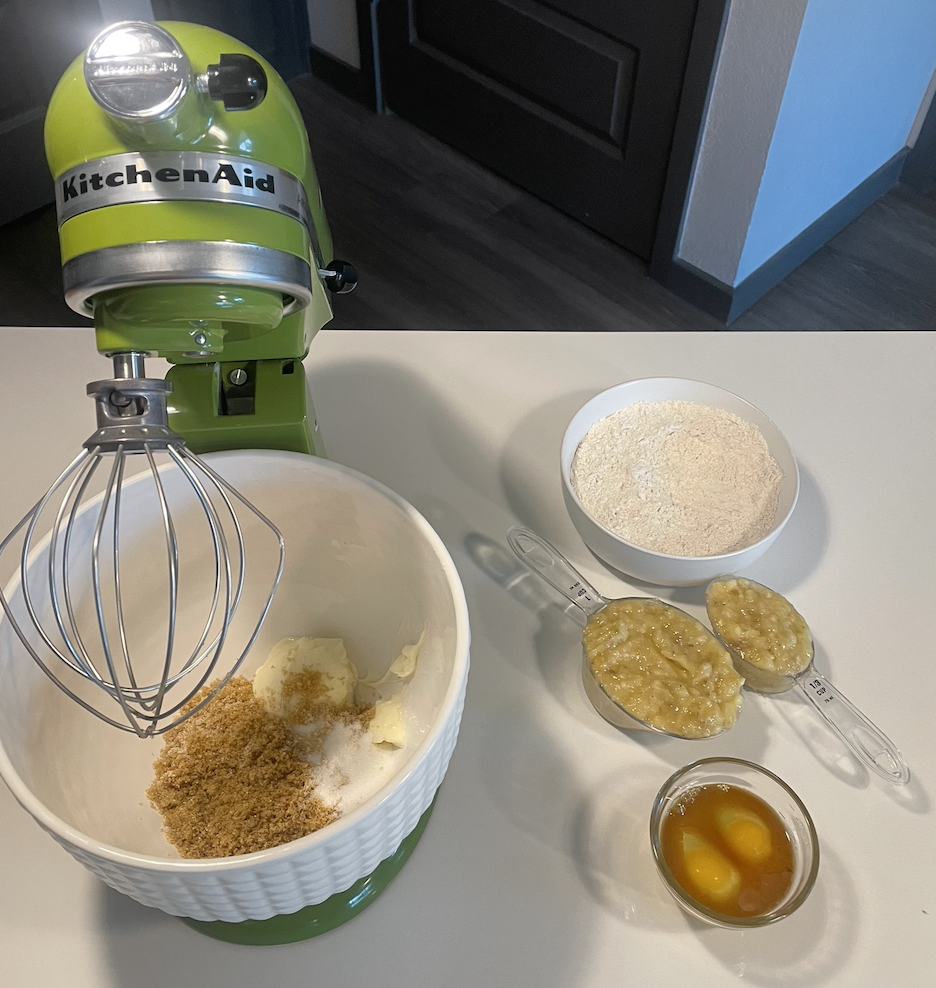
LINE UP 2
These all need to be in their own separate dishes.
Softened butter and sugars
LINE UP 3
These also need to be in separate dishes.
Eggs, vanilla, and mashed bananas. To mash bananas, simply put them in a bowl and press down using a fork until mushy.
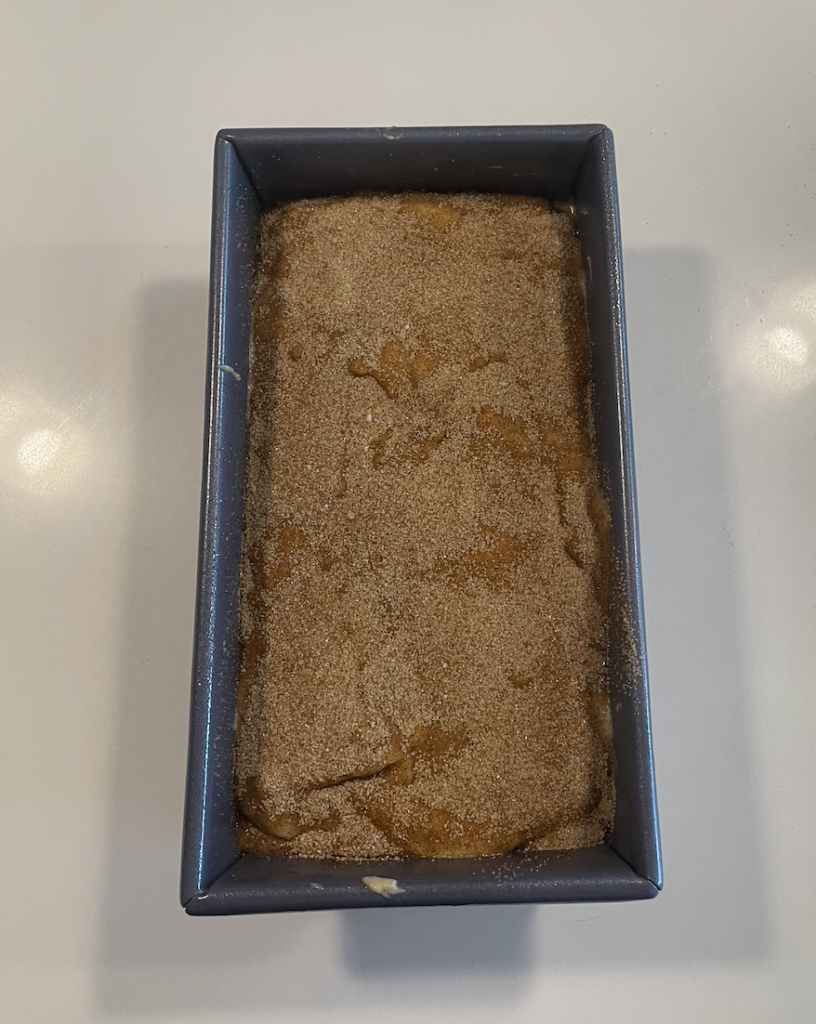
1. Preheat oven to 350 and grease your loaf pan.
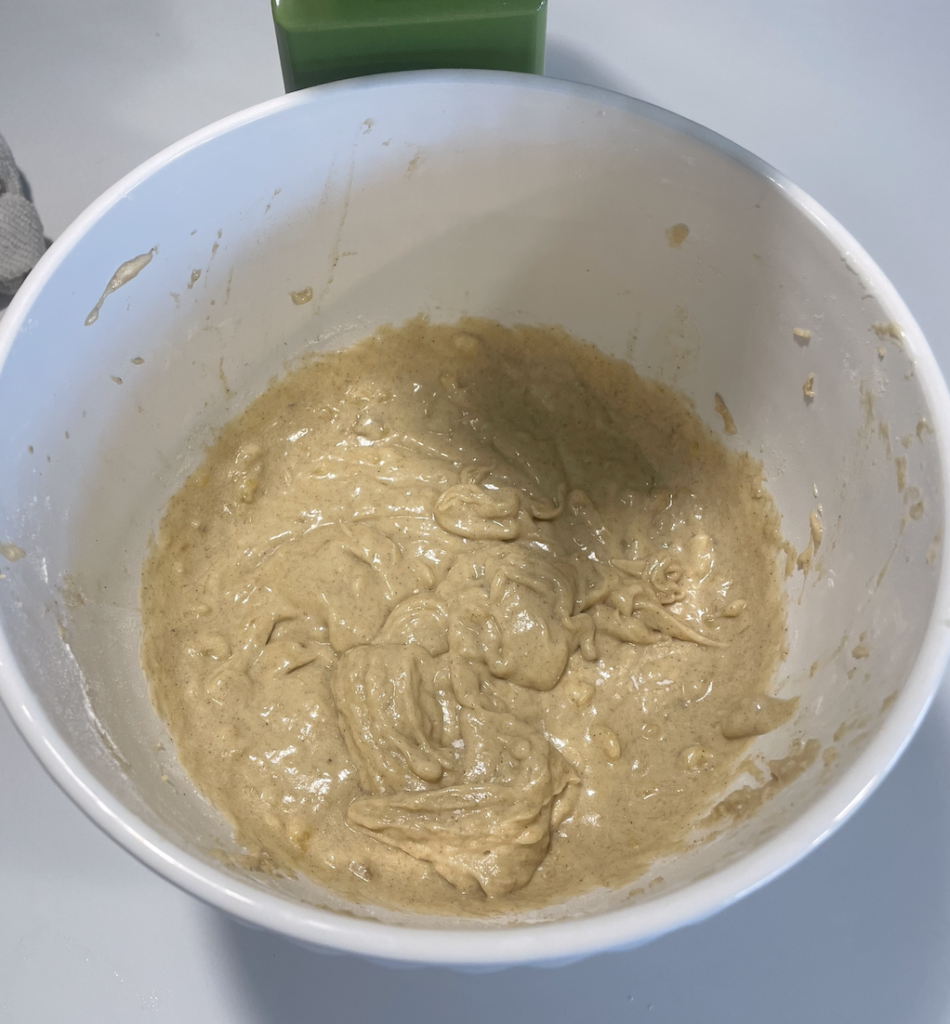
2. Add butter and sugars to your mixer and mix on medium speed until fluffy.
3. Add in the eggs and vanilla and mix until combined.
4. Stir in the mashed bananas and mix until just combined.
5. Finally, add in the dry ingredients and stir until combined. It’s important not to over mix or your loaf will be dense.
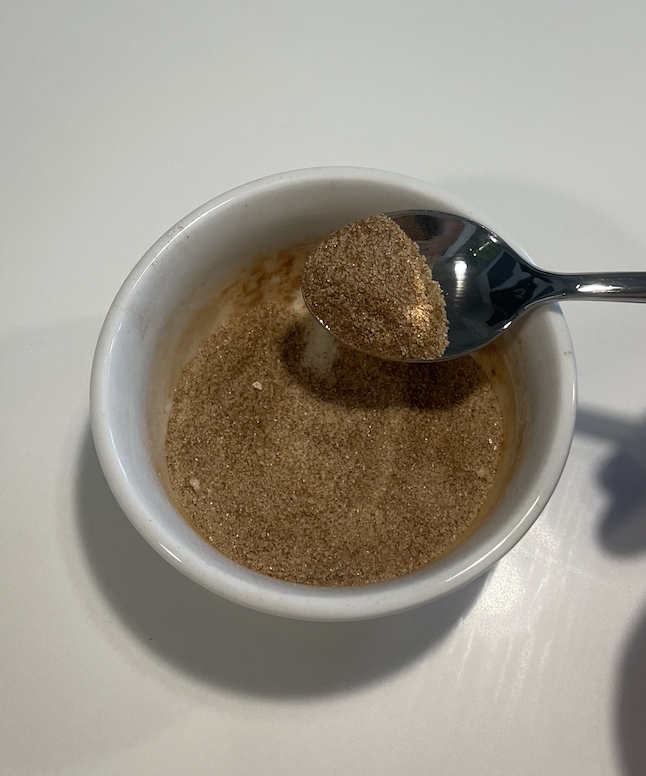
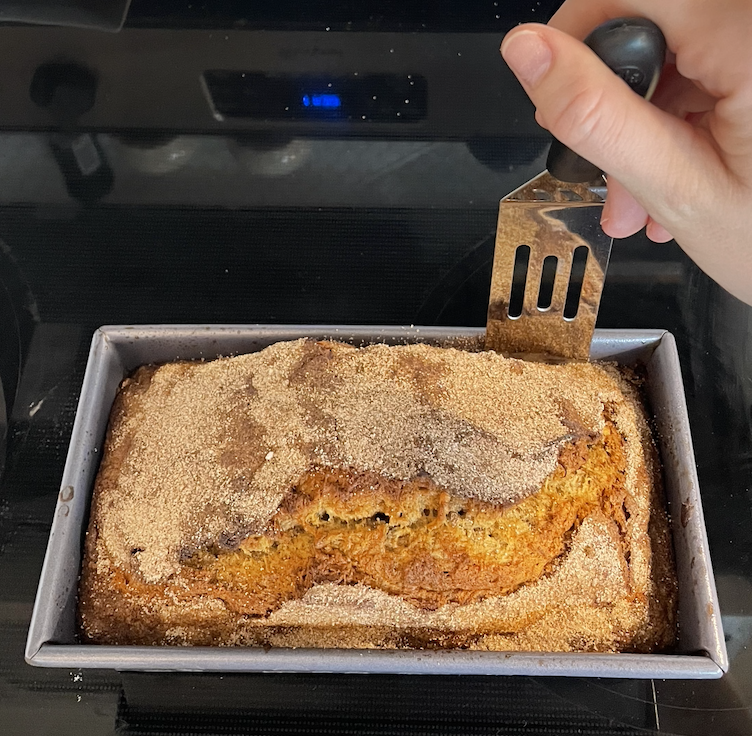
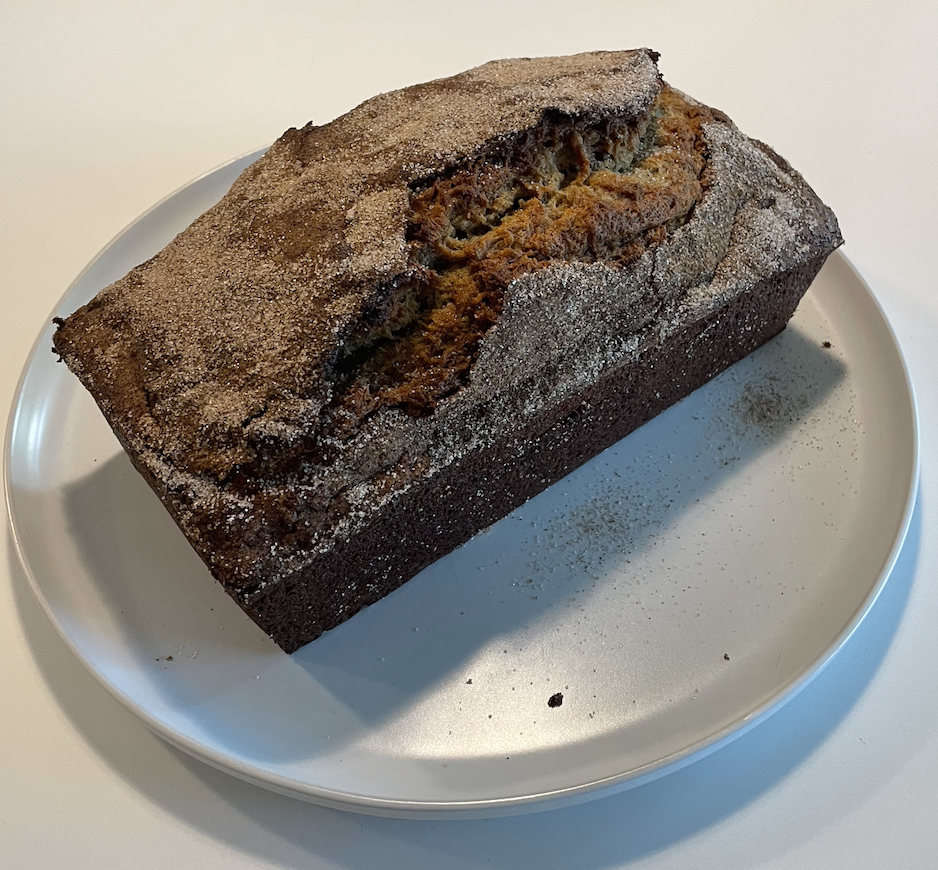
6. Pour batter into your greased loaf pan. I like to make a separate mixture of cinnamon and sugar (1 tablespoon of each) and pour a thick later onto the top of the loaf before popping into the oven .
7. Bake for about 45 minutes then check with a tooth pick. Simply stick the toothpick directly into the center of the loaf, if it comes out with batter on it cook for 5 more minutes and check again. Continue to do this until the toothpick comes out clean.
TIP: It’s best to remove loaf from pan as soon as it is removed from the oven so it does not continue to cook in the pan. This can burn the outside layer of the loaf. Use a spatula & gently slide down all sides of the loaf then gently lift loaf out of pan and set on a cooling rack, cutting board, or plate.
If you’re more of a muffin lover…
Use a 1/4 cup to pour the mixture into a greased muffin tin. Again, sprinkle a thick layer of cin/sug mixture to the top and only cook for 25 minutes. Use the toothpick method to ensure they are cooked through.
Longevity / Storage
Your muffins/loaf will last you up to 5 days. To keep them from getting stale, the best way to store would be to wrap the loaf and muffins in plastic wrap. The muffins would make for an easy on the go breakfast this way! If you don’t feel like wrapping muffins individually, keep them in an air tight container. They will get slightly stale. Simply pop them in the microwave for 30 seconds & slather with butter.. good as new!
Let me know your thoughts if you decide to give this recipe a whirl!
XOXO – Kaitlyn