I have a hard time throwing out old magazines because they are so beautiful it just feels wrong. Recently I had quite the stack built up, and thought that there must be something else I could do with them, and there was!
Here are four easy crafts you can create using old magazines!
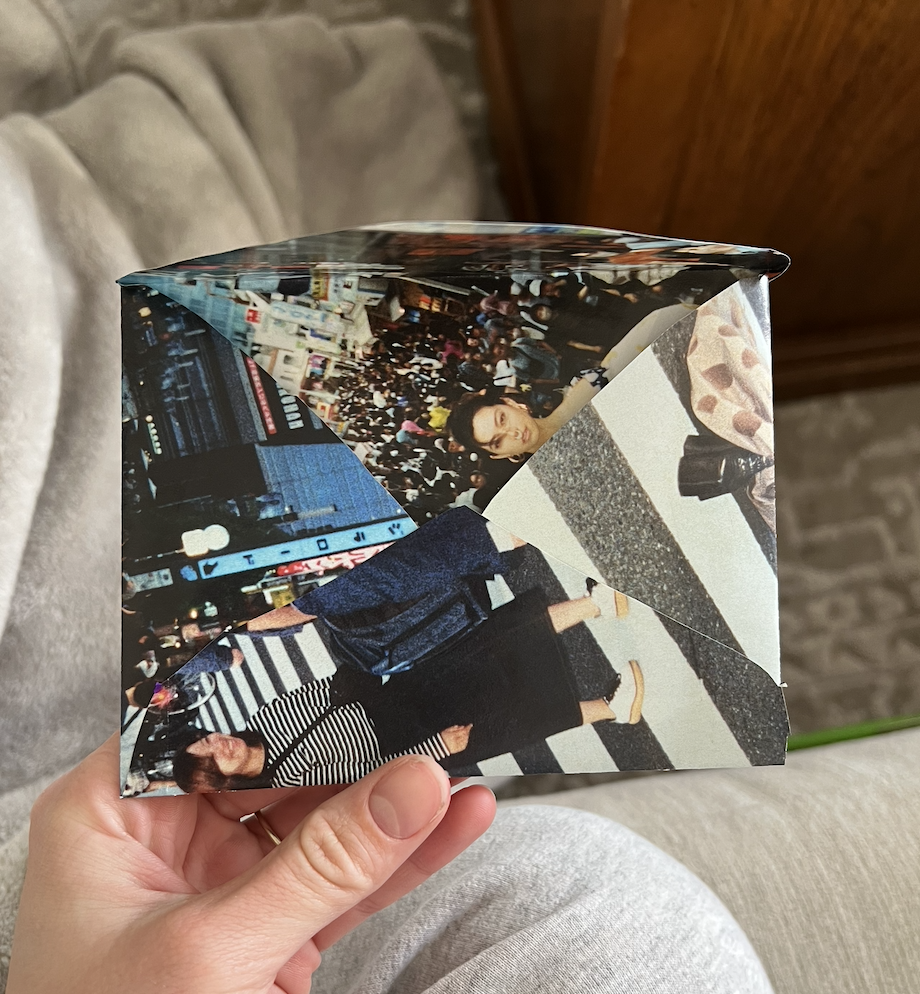
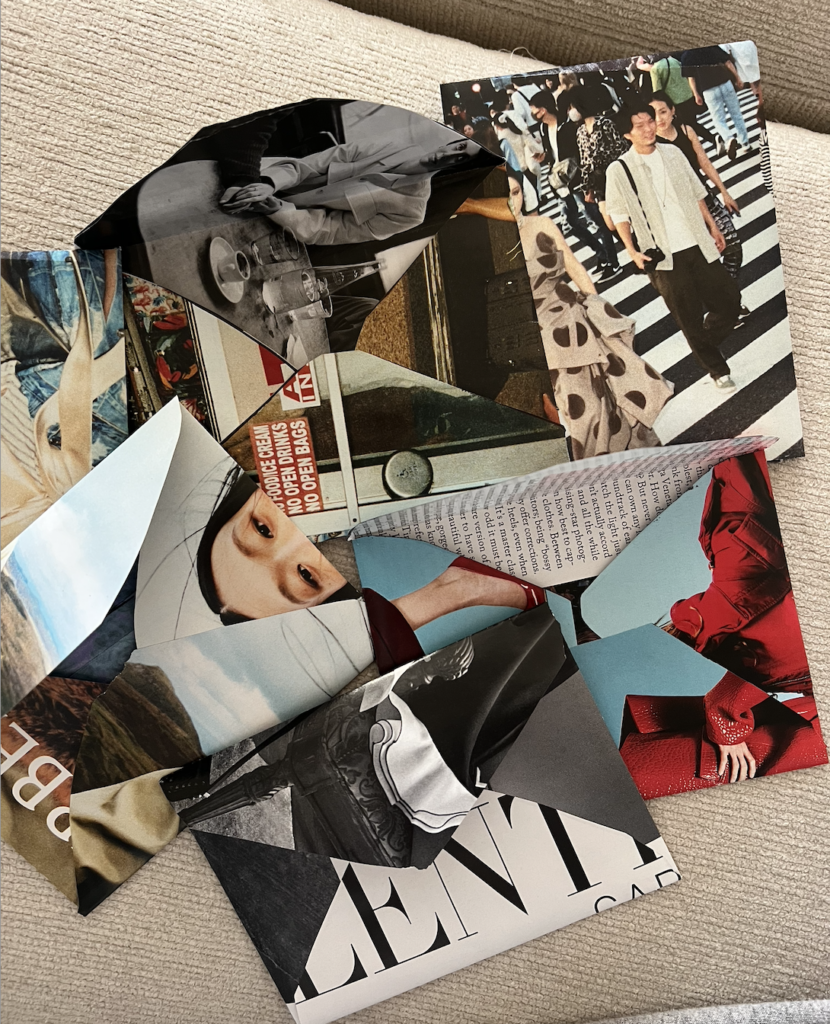
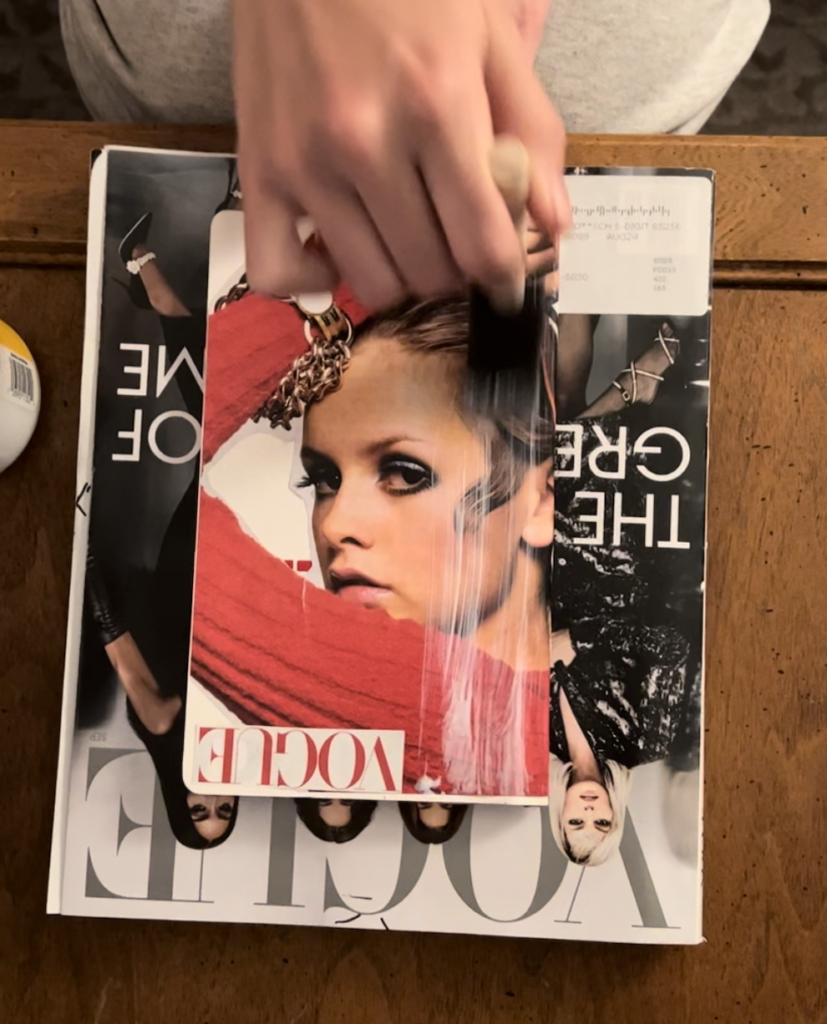
Envelopes
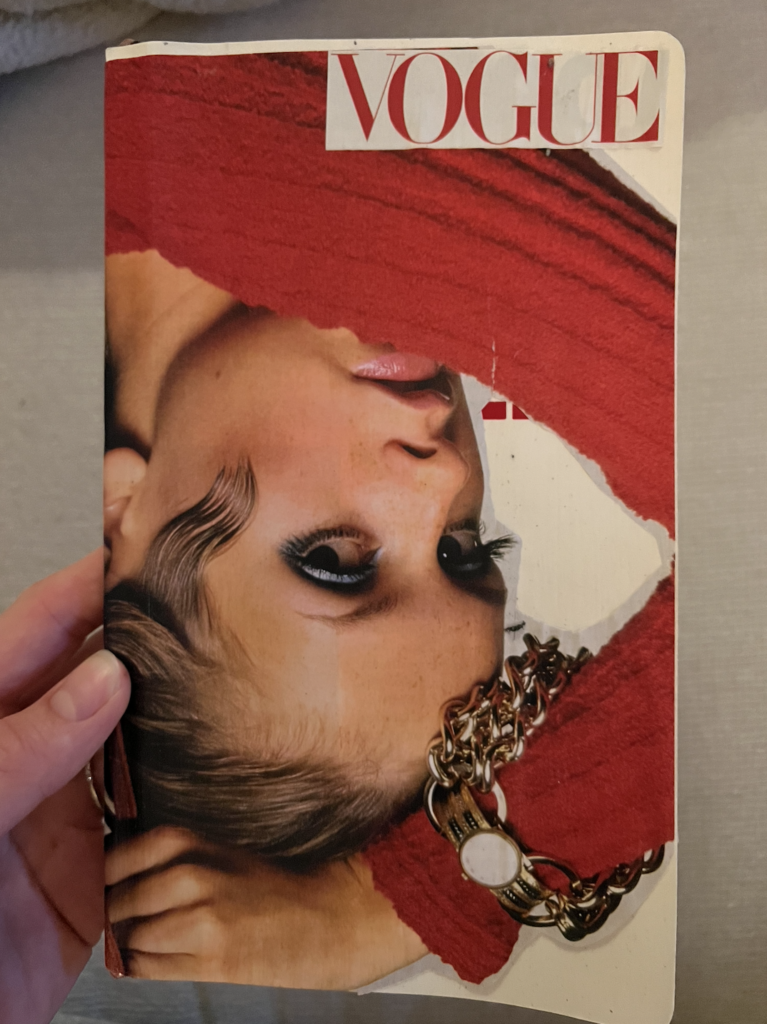
Vogue
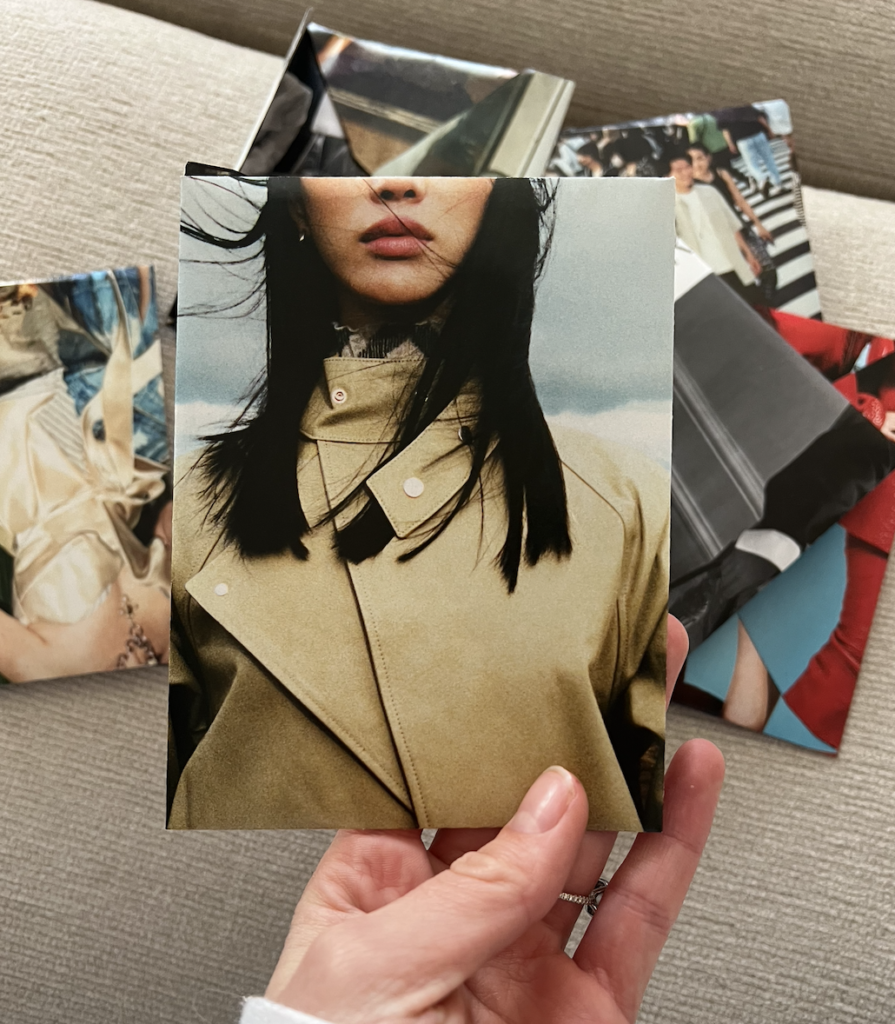
First things first, you have to pick your pages.
If you want to have both sides of your paper show, you only need to use one page. If you only like one side use a glue stick to glue another page to the other side! It is IMPORTANT to remember the side you want facing out should be face down on the table.
Step one
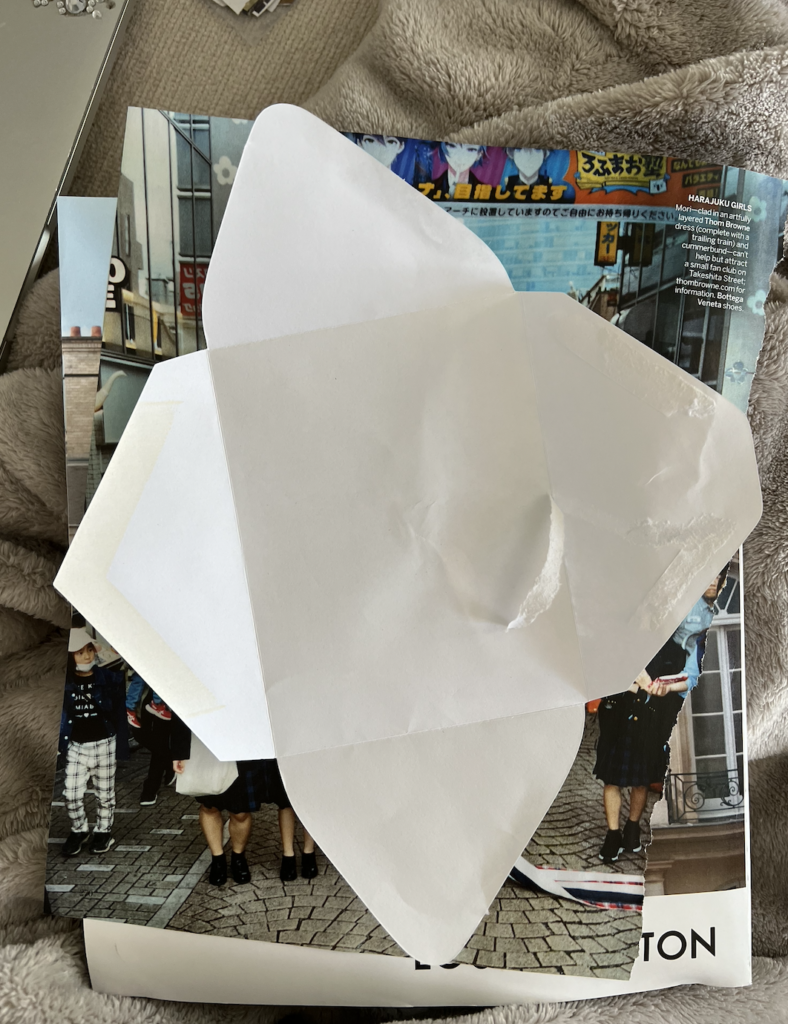
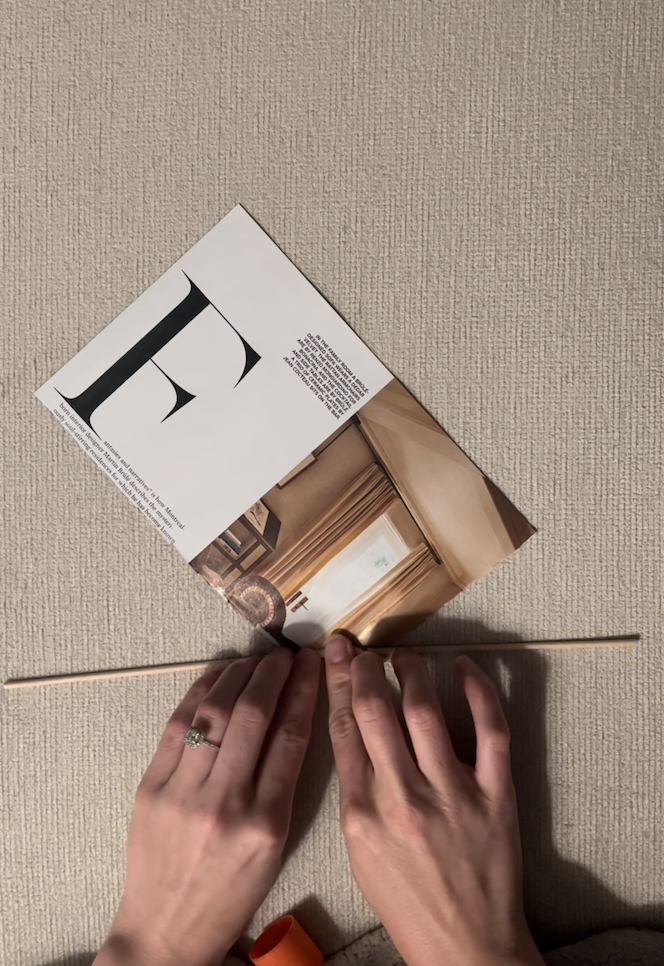
Unfold the envelope you want to remake on top of your magazine page.
The page I used here is slightly smaller than the width of the envelope and it still turned out great! In general, this is a very friendly craft. Outlining and cutting out your initial shape are also very forgiving steps.
Step Two
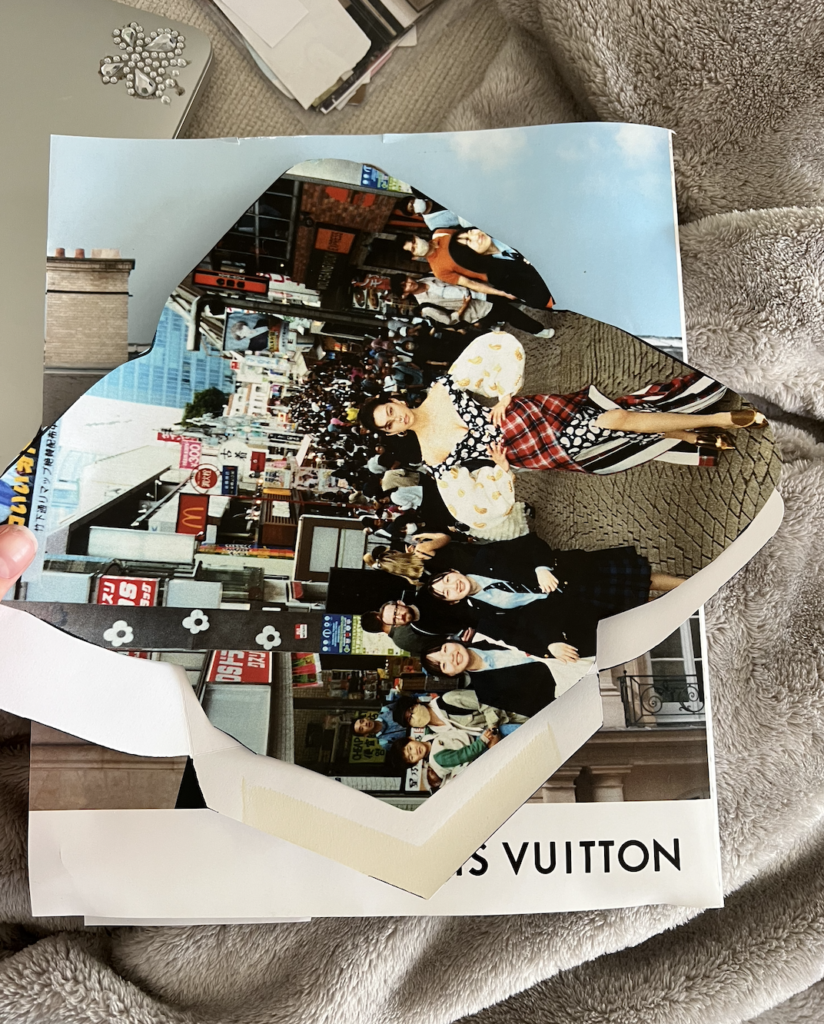
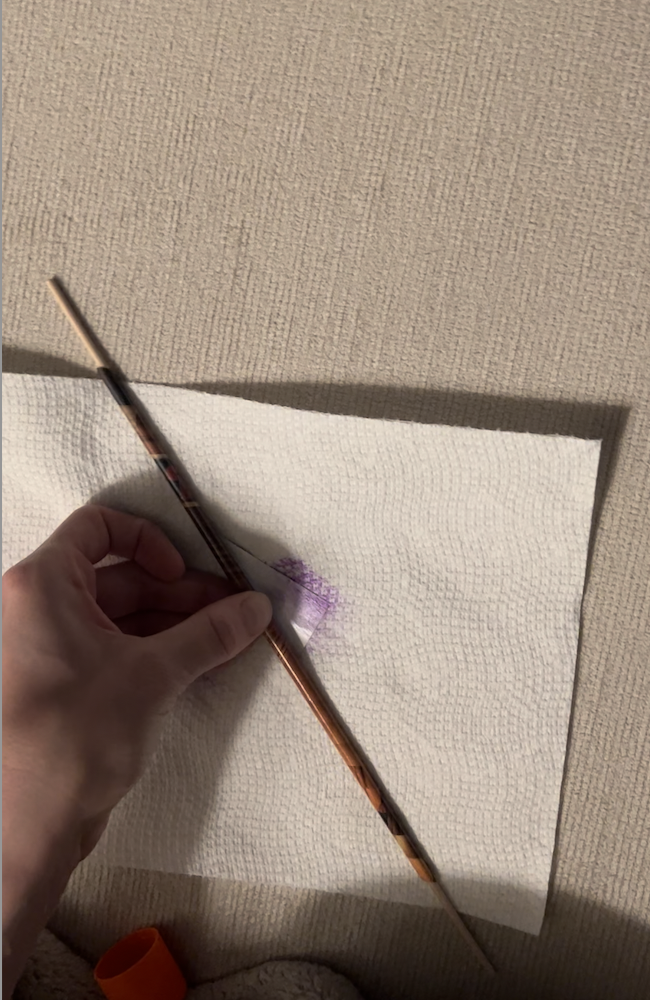
Outline and cut out the shape of your envelope. Try and cut off the marker or pen marks to avoid them showing up on your final envelope.
Step Three
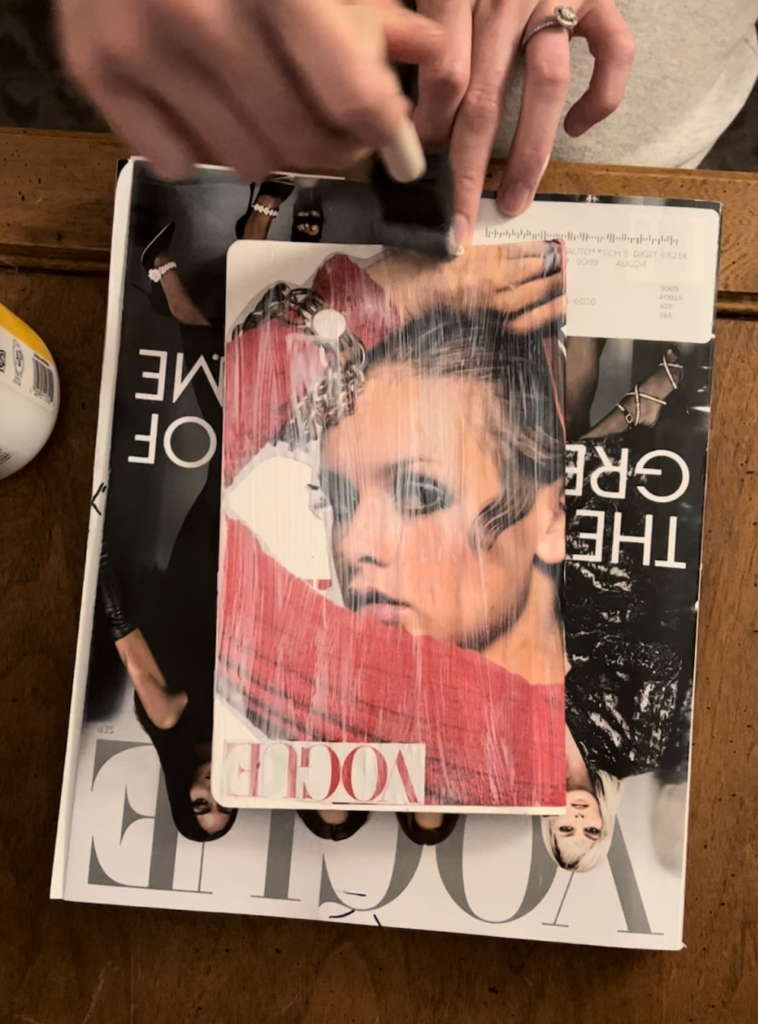
Line up your cut out with the original envelope and fold into shape. Be sure when folding that your magazine page it tucked all the way into the crease before you press it down.
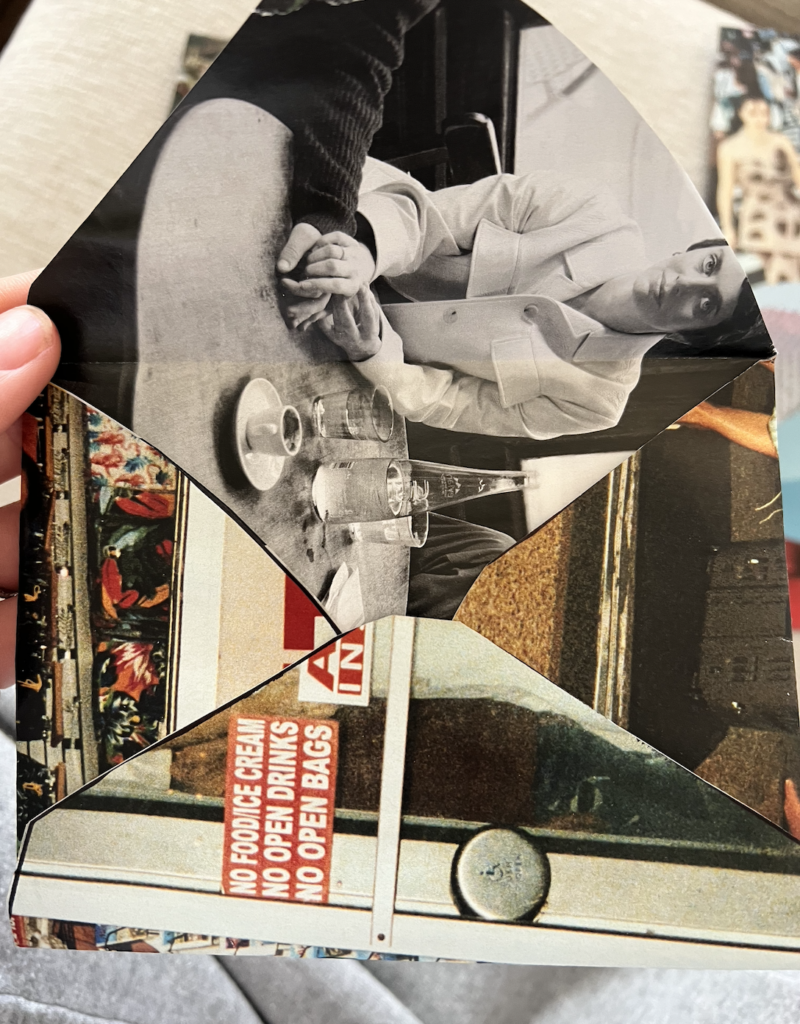
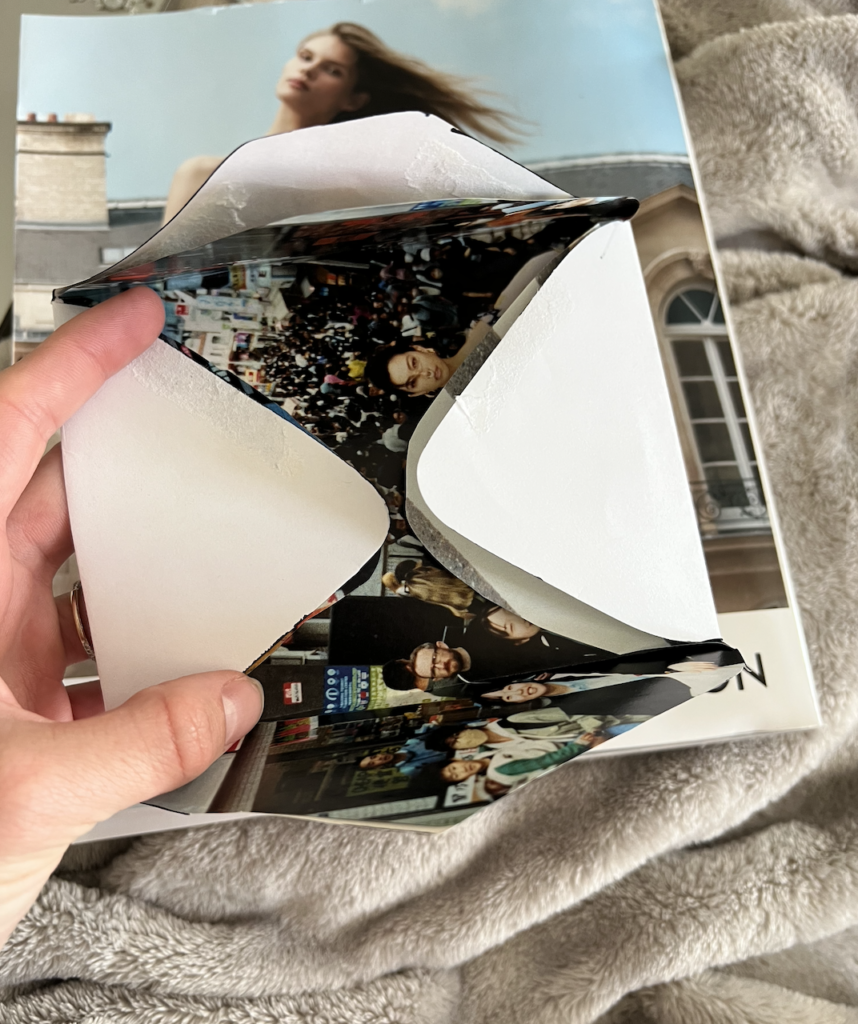
Step Four
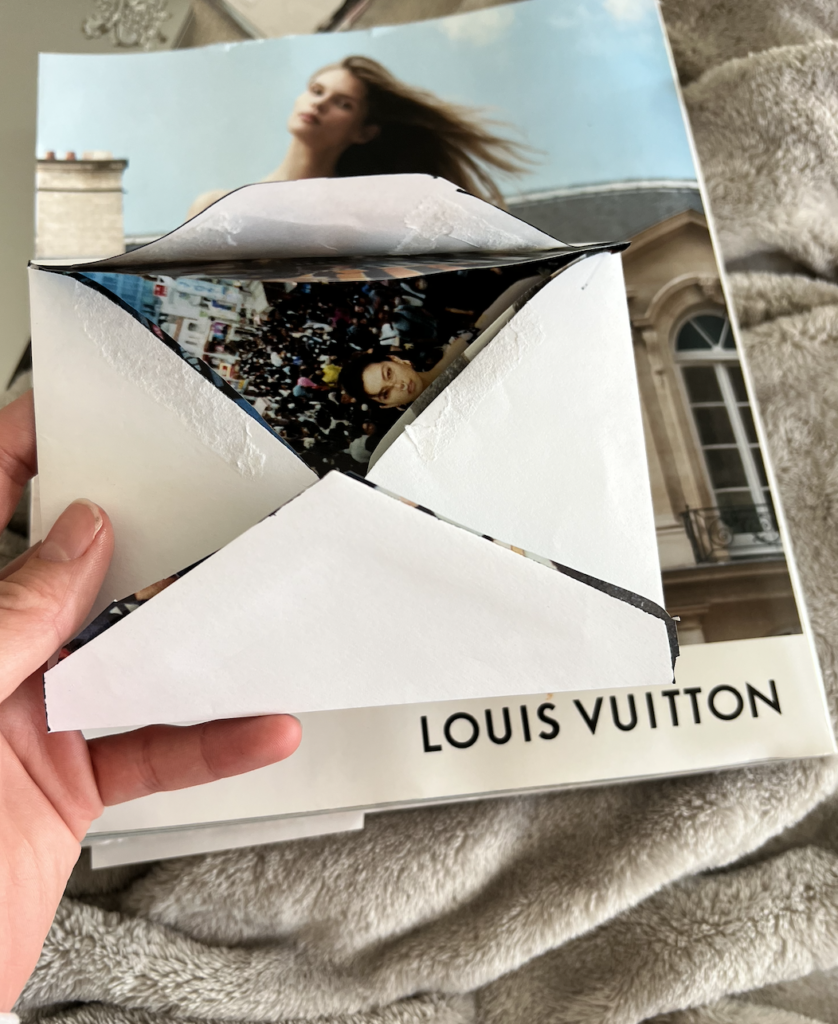
Remove the plain envelop and refold your paper along the same lines. To make it stay use a glue stick along the edge of the bottom flap to stick it down to the right and left sides. This is the flab you see my thumbing touching in the photo above.
You did it!
This is the EASIEST & CHEAPEST craft you could ever imagine. If I had to put an age on it I’d say six and up, that’s how easy.
They are great to make just for fun, to use throughout the year for birthdays, or as thank you cards.
I also think they would make for really unique save the date or wedding party cards (the outside envelope would still have to be white for mailing purposes). If you’re sending them with a gift no need for that outer envelope just put the address on the box!
Journal or Book Cover
I covered a journal, but you could do this with a hard cover book, a soft cover book, or a notebook! Eventually I might thrift larger coffee table books, and cover them for cute home decor.
Another idea would be to cut out individual letters to spell the title of the coffee table book you’re covering, or whatever title you’d like!
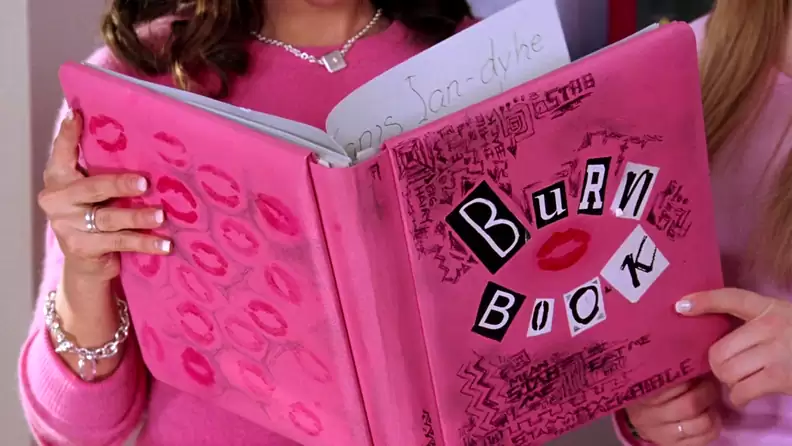
I’m picturing something like the burn book letters.
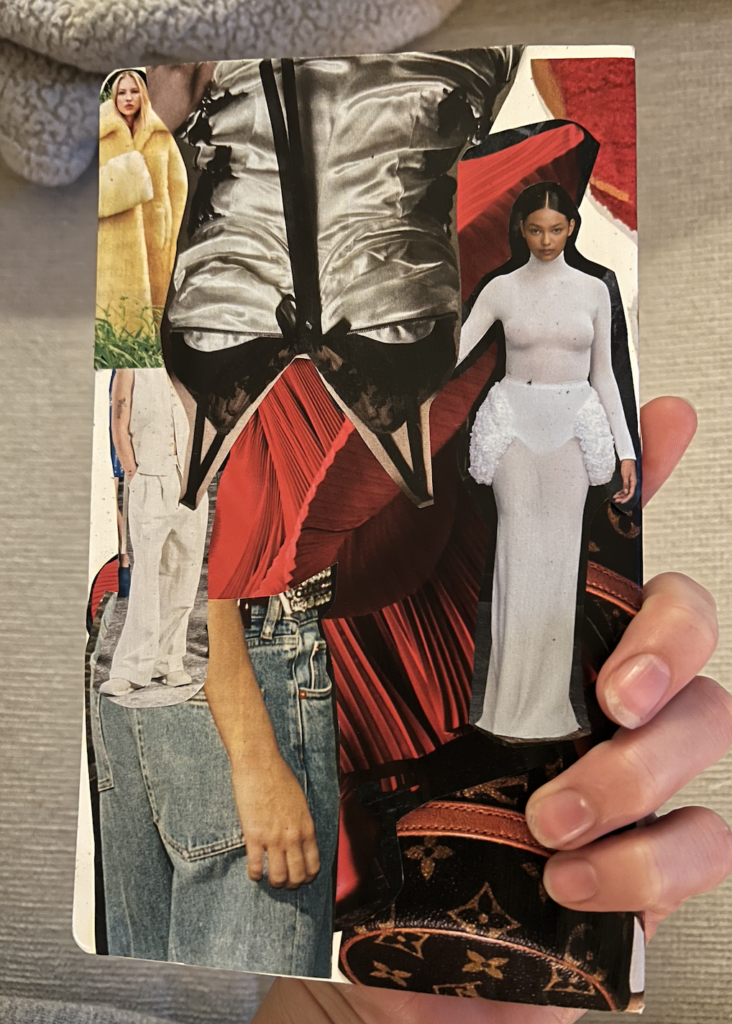
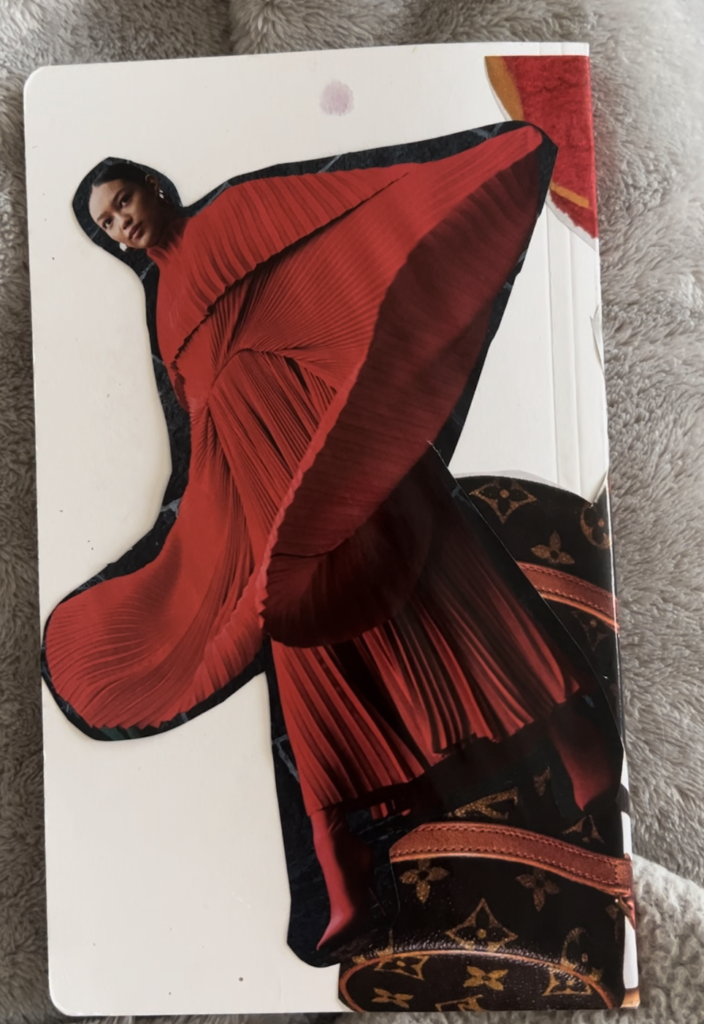
I started with a blank soft cover journal and LOTs of magazine clippings. I found it easier to have pieces already cut out and ready to go, rather than finding them along the way.
It depends on the look you’re going for, but I found Architectural Digest and Vogue to have really vibrant photos to choose from.
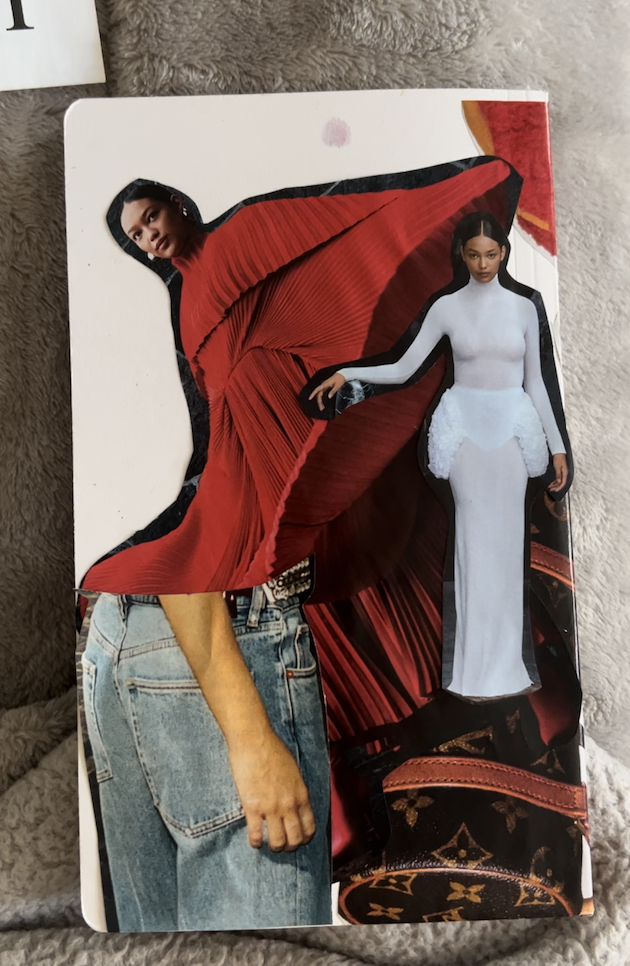
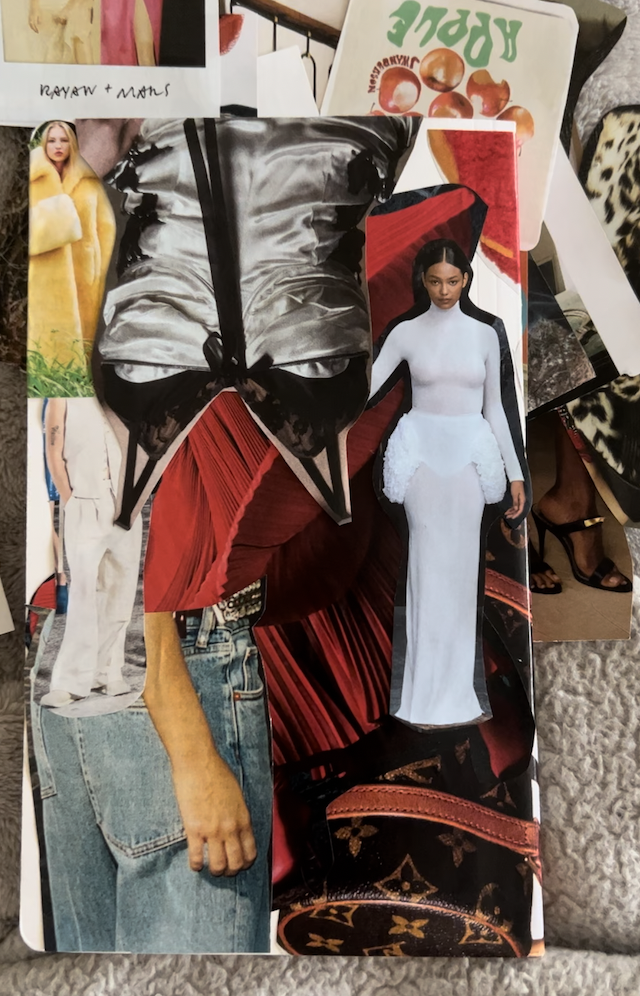
Using articles to cover your book and then placing brighter cut-outs on top can help eliminate any blank spaces between your clippings. I wish I would have done this!
The Process
Placement
Simply apply a glue stick to the back of your clipping and place it where you’d like it to go.
I found it easier to apply glue to the whole back side and fold over any excess onto the inside of the cover.
Finalizing
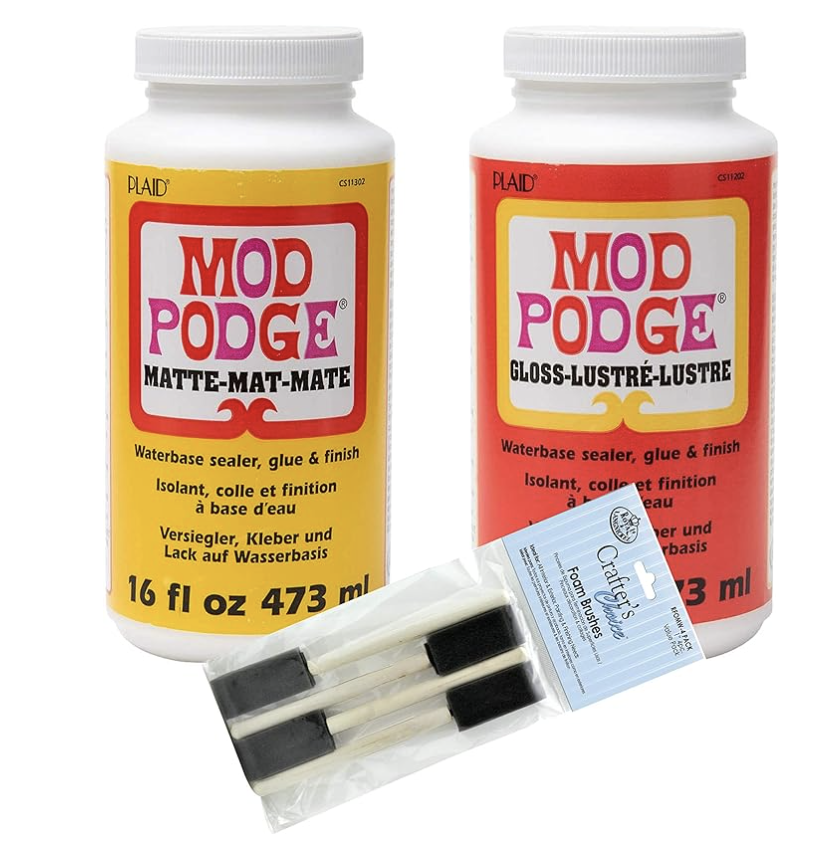
You can use either glossy or matte Mod Podge. Use a thin layer to avoid wrinkles.
Photo is linked to Amazon
Don’t forget to get the binding!
I personally used matte for my cover to give it more of a paper look.
You can use either a sponge brush or a bristle brush, but I found that a sponge brush has a smoother look.
Use this craft to make your bookshelf more interesting, customize your planner/journal, or to decorate your coffee table (one of a kind coffee table books here you come!).
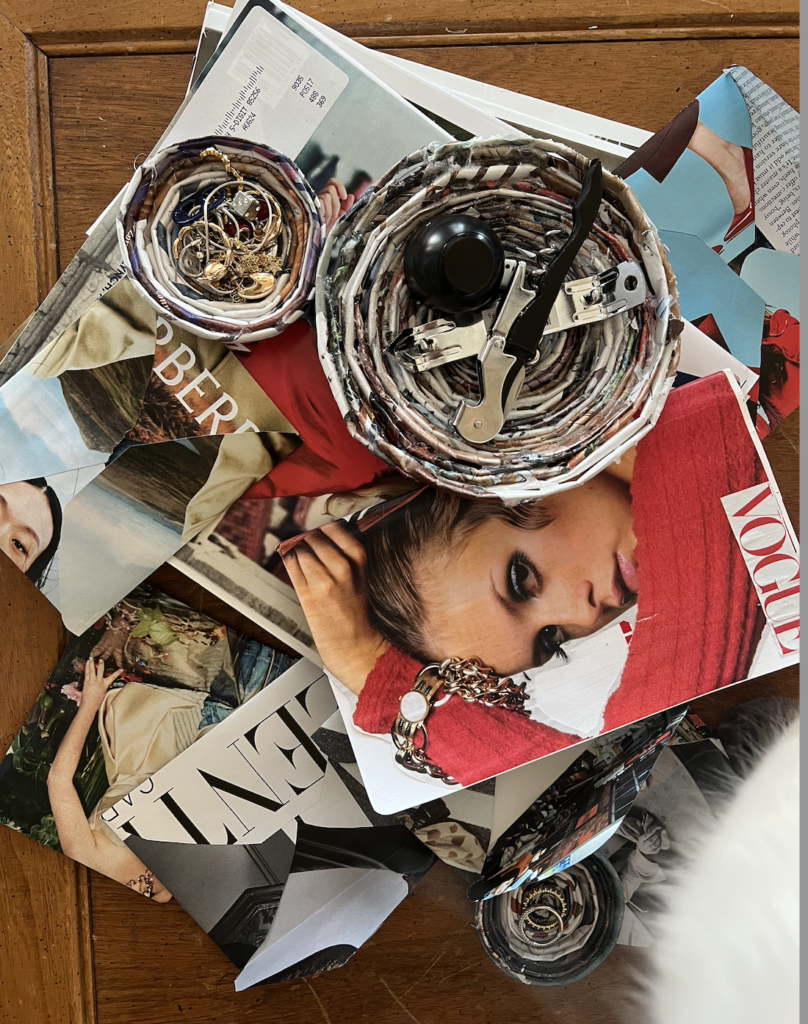
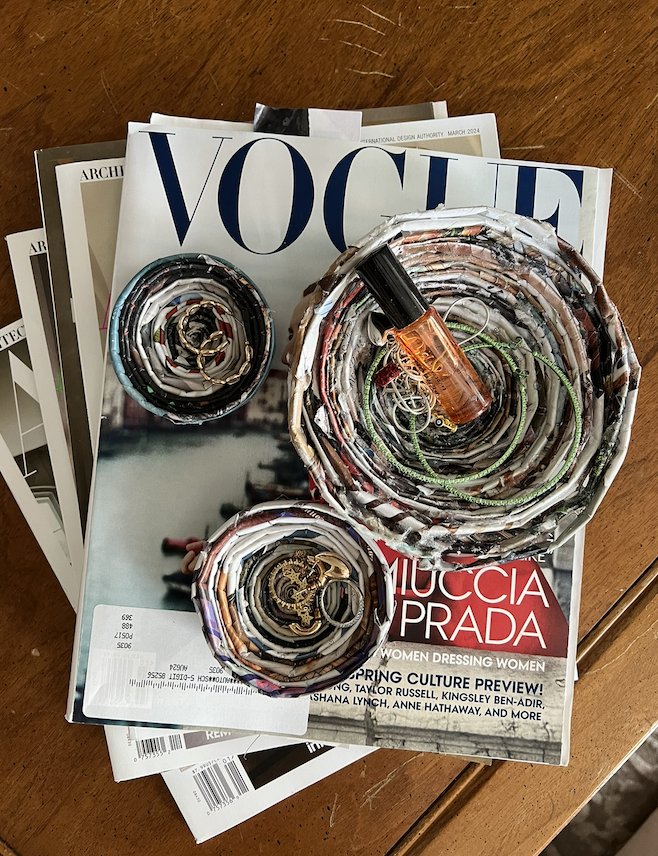
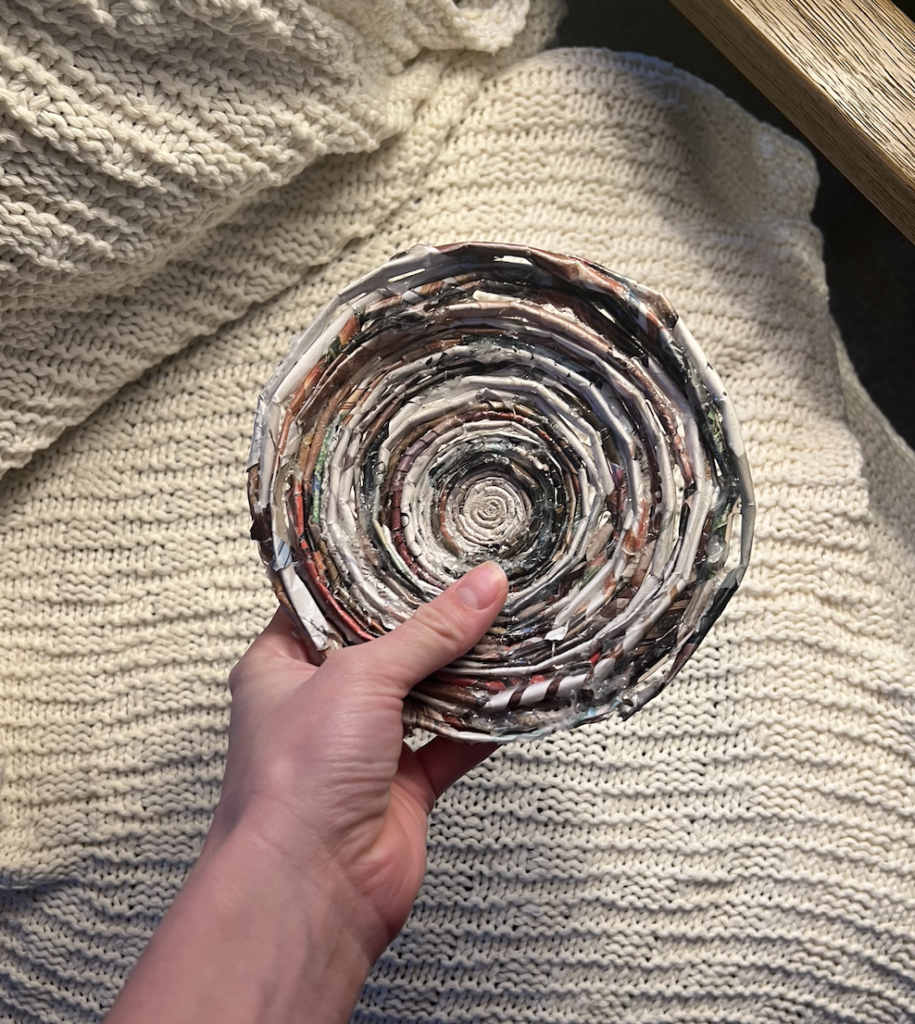
Bowls
Boy was this a b*tch.
I have a lot to say about these d*mn bowls, and you may or may not want to here it. After you have the basics down it is easy, BUT you are not going to be making some giant bowl. Crafty Patti (explained later) can, but you can not. Save yourself your sanity and plan on making a jewelry dish, not a chip bowl. Once I stopped trying to make the worlds biggest bowl I could whip out a jewelry dish in about ten minutes.
Helpful Tips
1. I will link Crafty Patty’s youtube video HERE. Her video is very long, but it might be helpful to skip around and get a visual before returning to this page for a step by step.
2. Use low quality paper. The first bowl I made (disaster) was out of an Architectural Digest magazine with really high quality paper. This type of paper is not pliable and will make your rods too stiff. Try using those free-bee magazines in the front of grocery stores.
3. The side of your page that you want to show should be face down once you start forming your rods, this way it will end up on the outside.
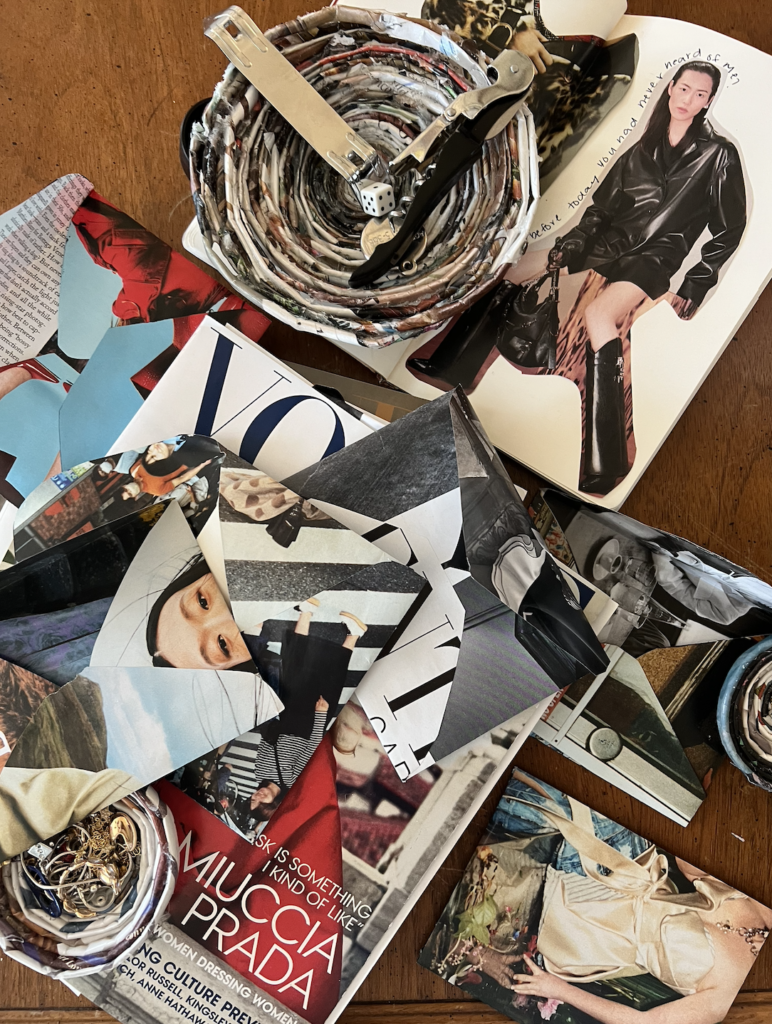
Step One
Making Your Rods
This is the foundation of your bowl. Remove the staples from your magazine and cut it in half width wise (two hot dog shaped halves). I would recommend using these as your pieces, but in the example you’re about to see I cut the paper in half one more time. After trying a few different techniques I found it easier to have longer rods.
Use a wooden dowel, I got my pack from Hobby Lobby, to roll your paper diagonally from corner to corner. It does not have to be perfect.
Roll until just the corner is left.
Apply glue to the corner and finish rolling.
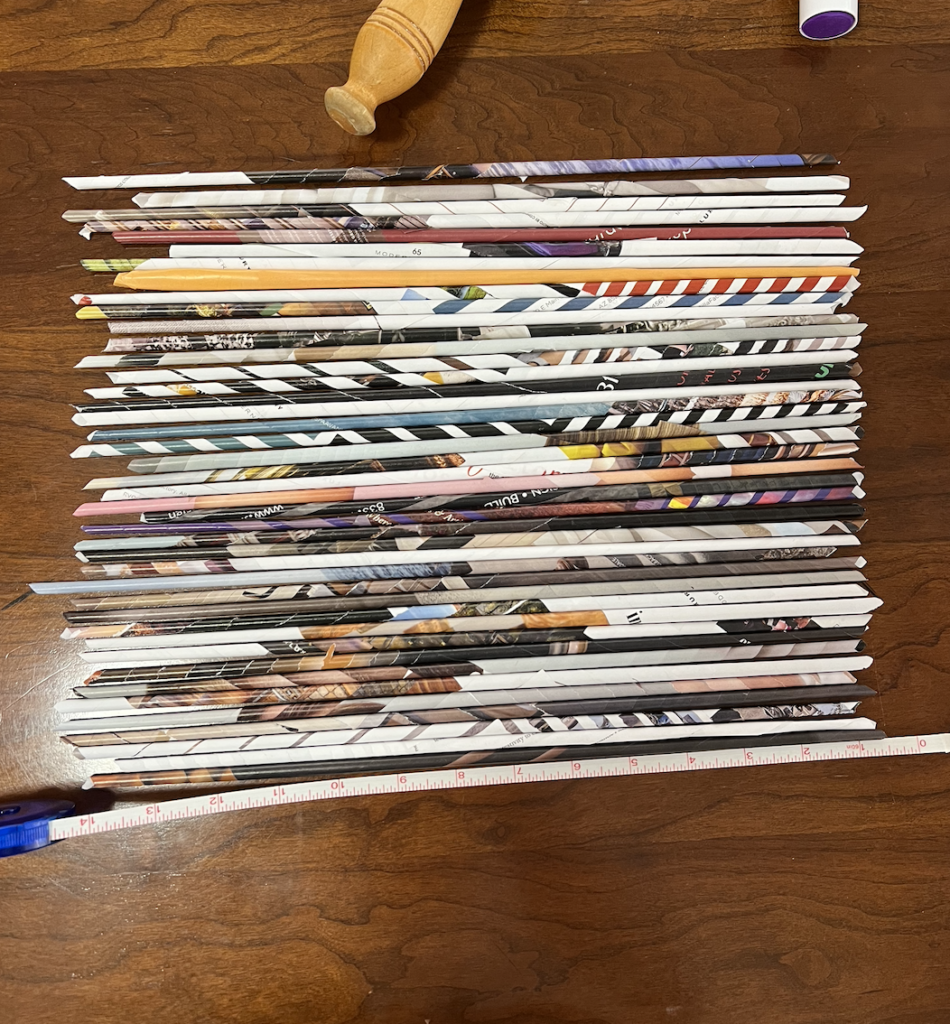
Remove the rod and repeat 20-50 times depending on the size of bowl you’re trying to make. The smaller dishes I made used less than 20.
My rods were any where from about ten to fourteen inches in length (the second time around when things went smoother).
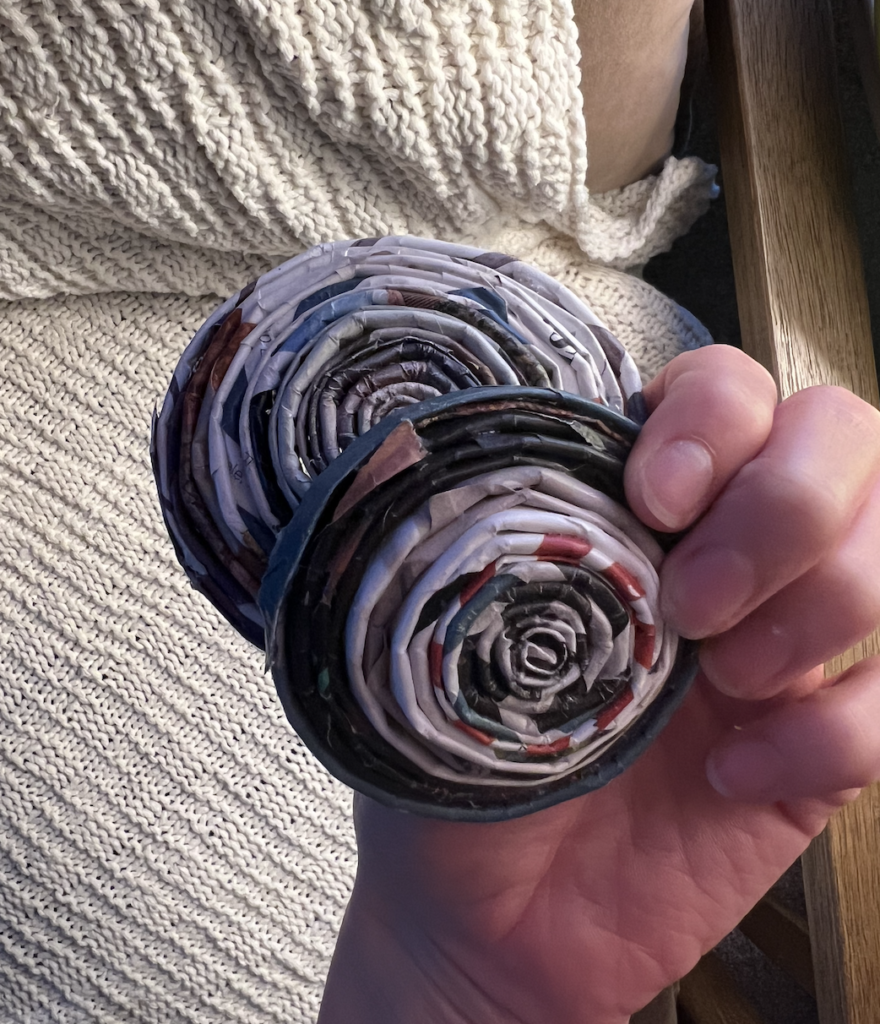
Step Two
Making Your Wheel
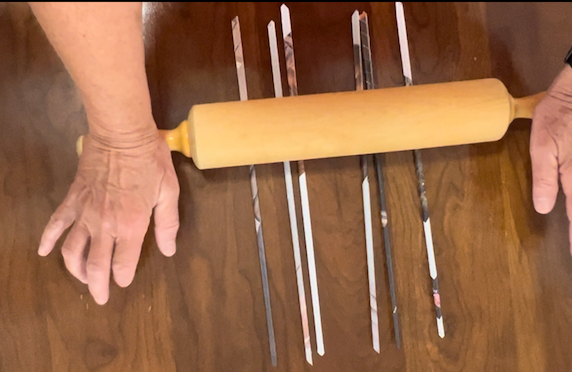
Grandma Rose helping me here
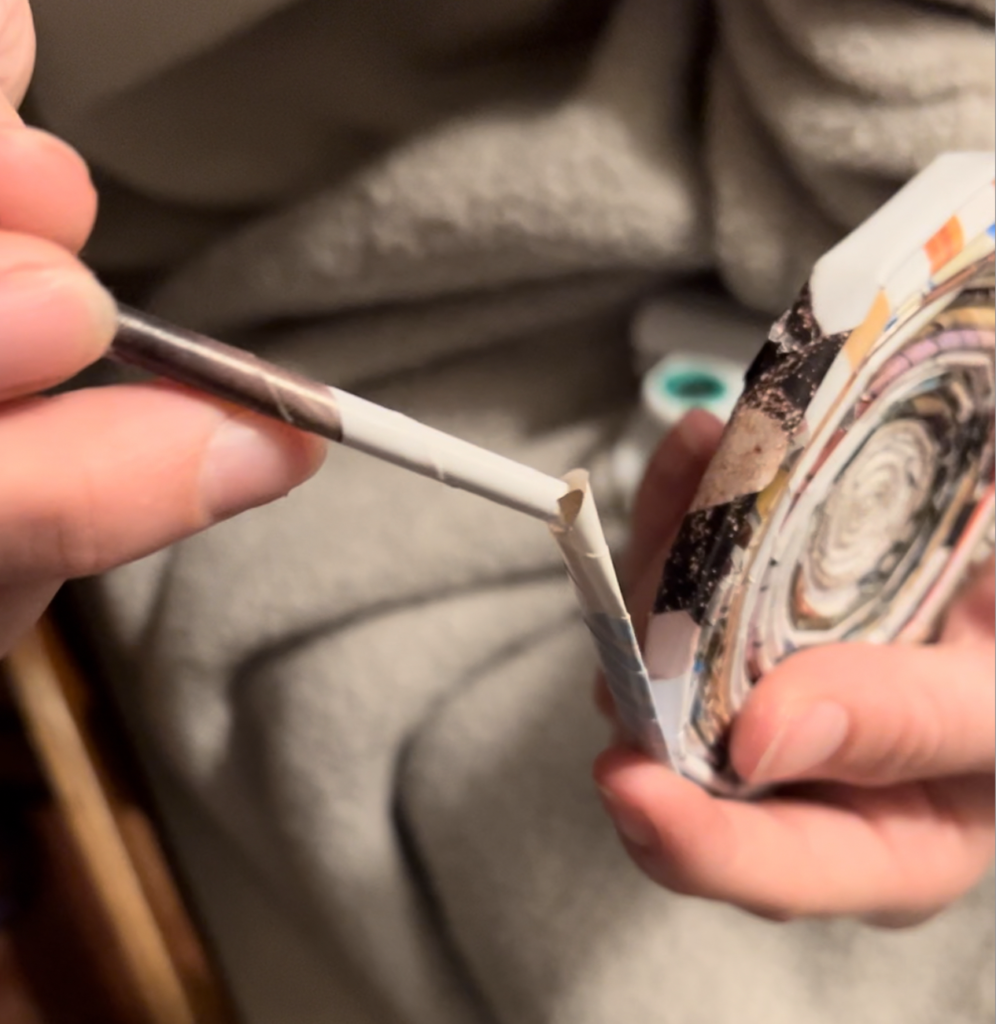
Rolling out your rods with a rolling pin can help make them easier to work with. Crafty Patti recommends leaving one end unrolled, and then folding the flat end in half (I did not find this helpful I just rolled the whole rod out flat).
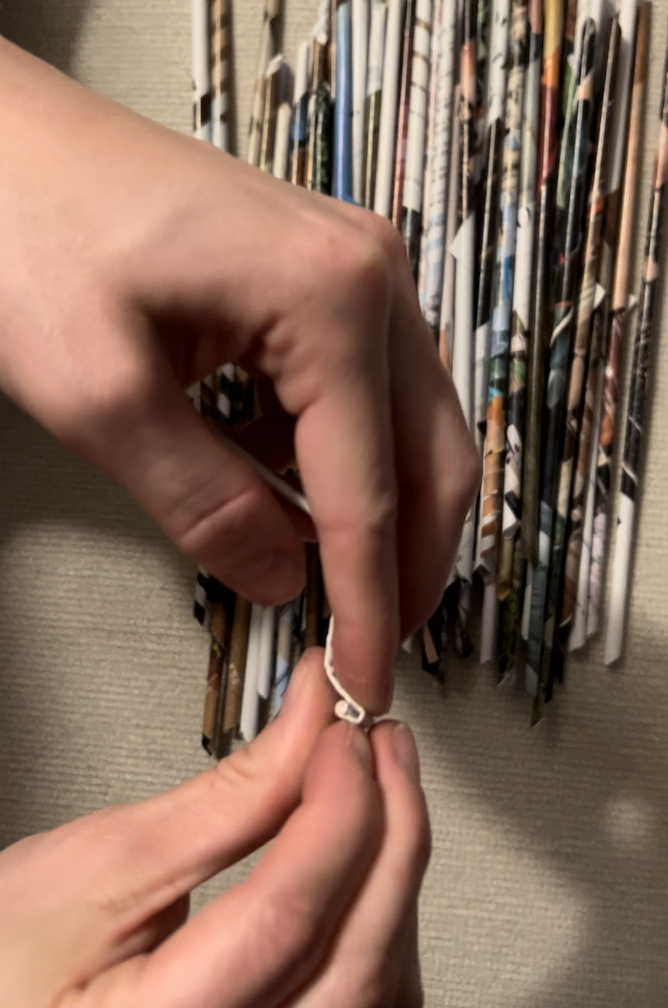
Your goal is to make your wheel tight. Really work the paper you plan on starting your wheel with so you’re able to start a nice tight roll.
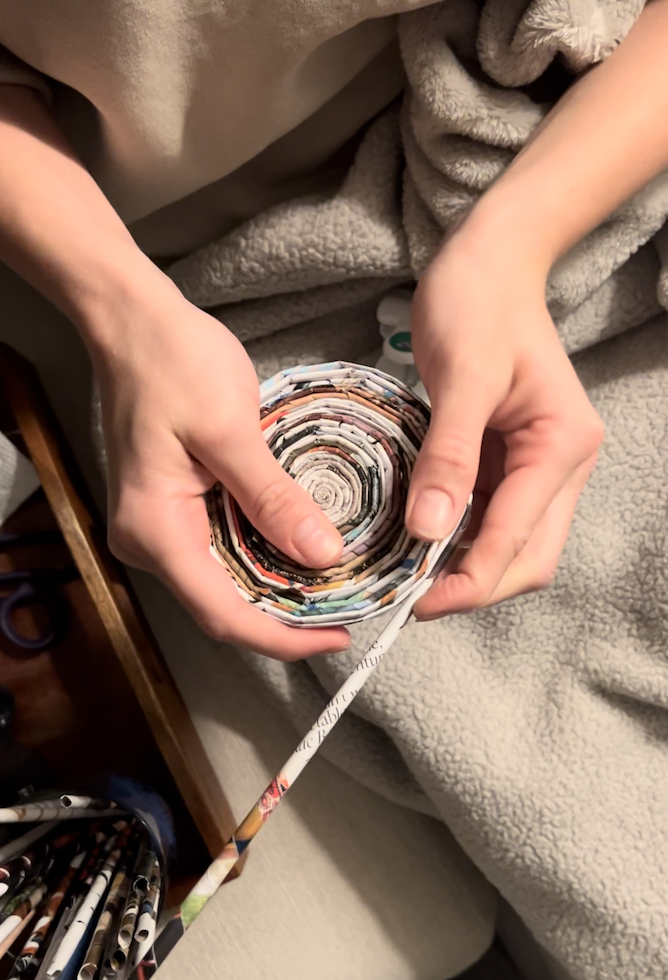
Simply insert your next rod into the end of the previous rod. Try and push it as far into the previous one as you can to avoid it popping out.
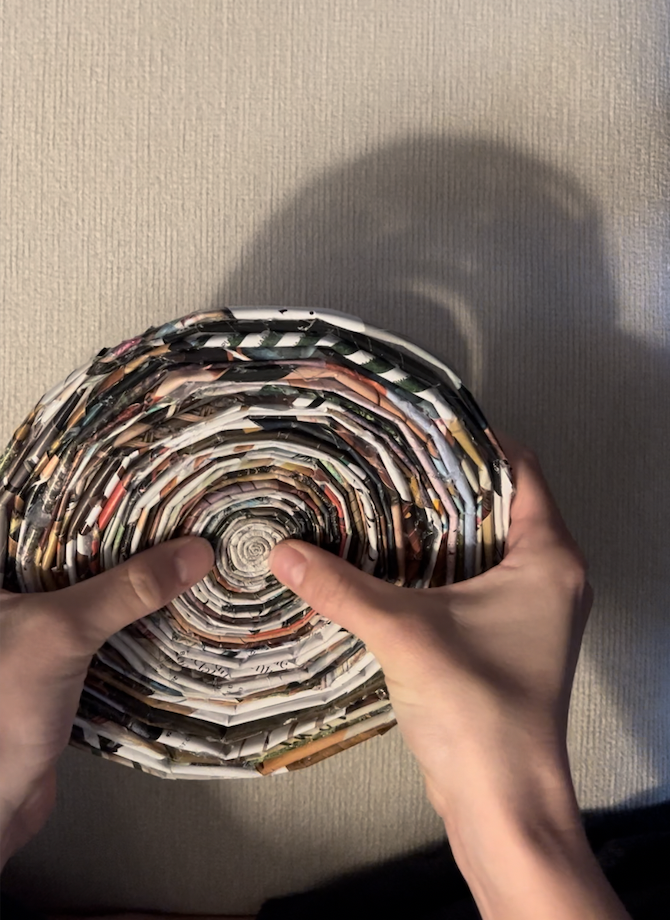
Continue this until your wheel is close the desired size of your bowl. Here I am holding the wheel up in the air, but on my second bowl I found it much easier to keep the wheel pressed down on the table as you make it.
Hot glue the last rod down to the rest of your wheel.
Step Three
Forming Your Bowl
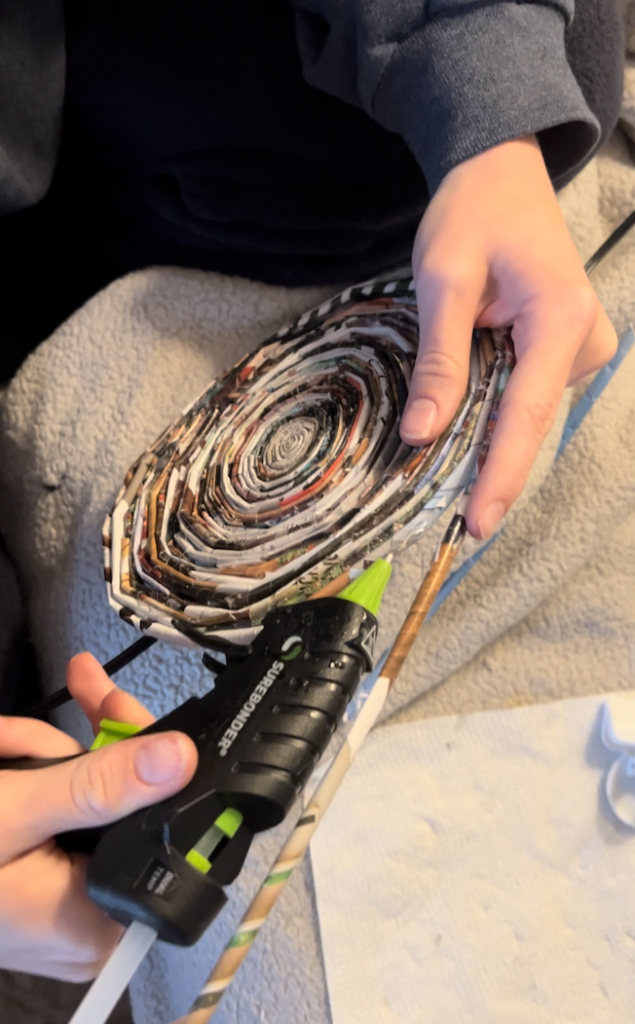
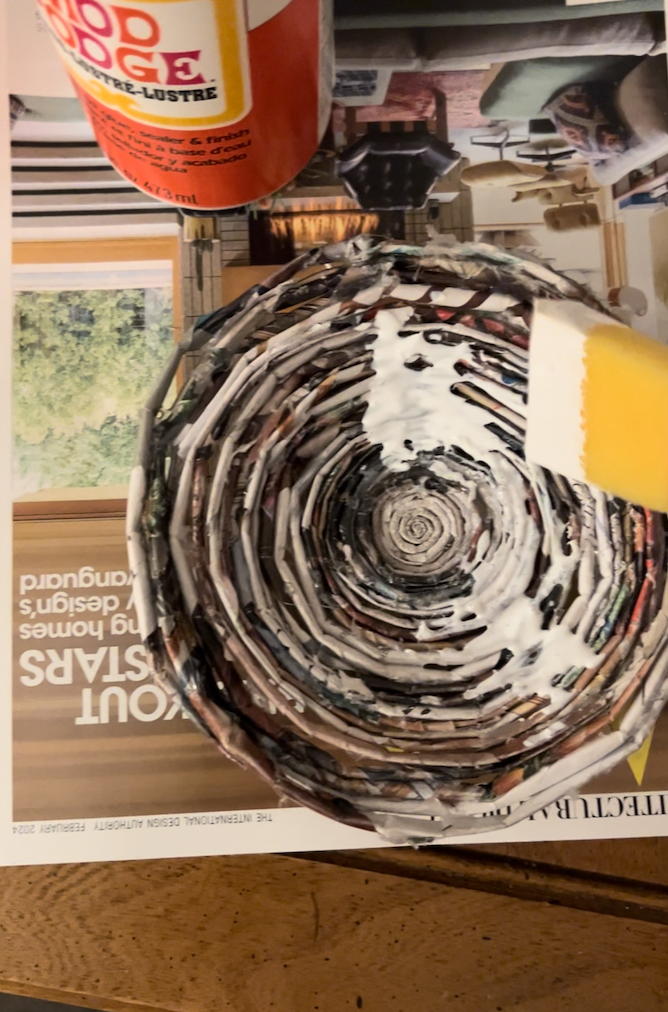
I can not stress this enough do NOT push to hard and do NOT over do it. By that I mean don’t try and make your bowl tall, it may come apart. These are going to be shallow so it takes very little manipulation to form the shape you want. The first bowl I made I used a glossy finish Mod Podge which looked okay, but my matte bowls turned out much better!
Gently press the center of your bowl down working your way to the outer rim.
Cover the whole inside of your bowl with Mod Podge and let it dry.
Place your bowl upside down on a cup and Mod Podge the outside and let it dry.
Enjoy Your Bowls!
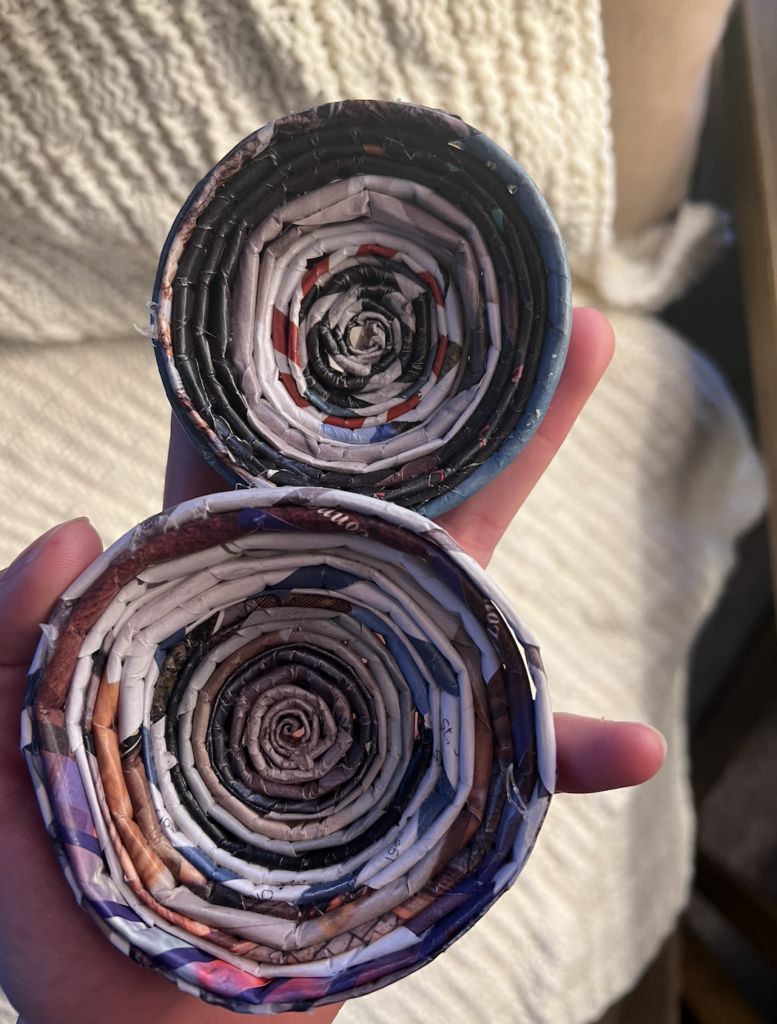
Matte Finish
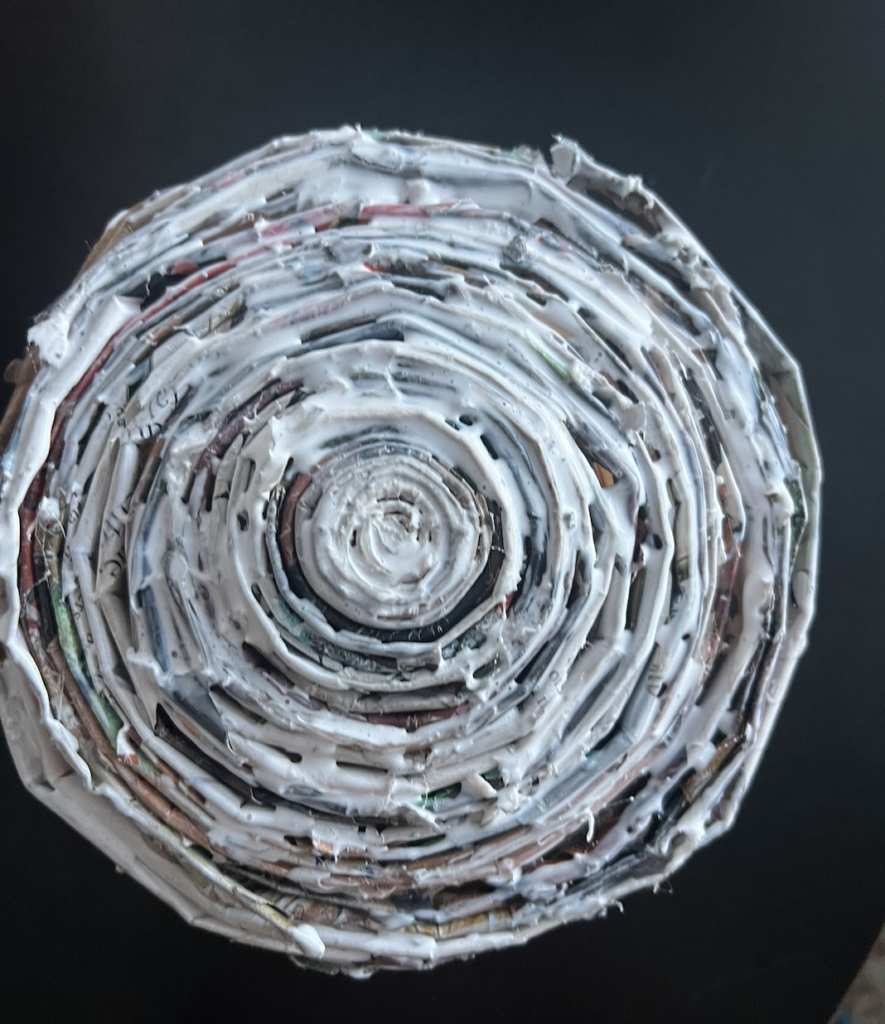
Glossy Finish (struggle bowl)
Matte Finish
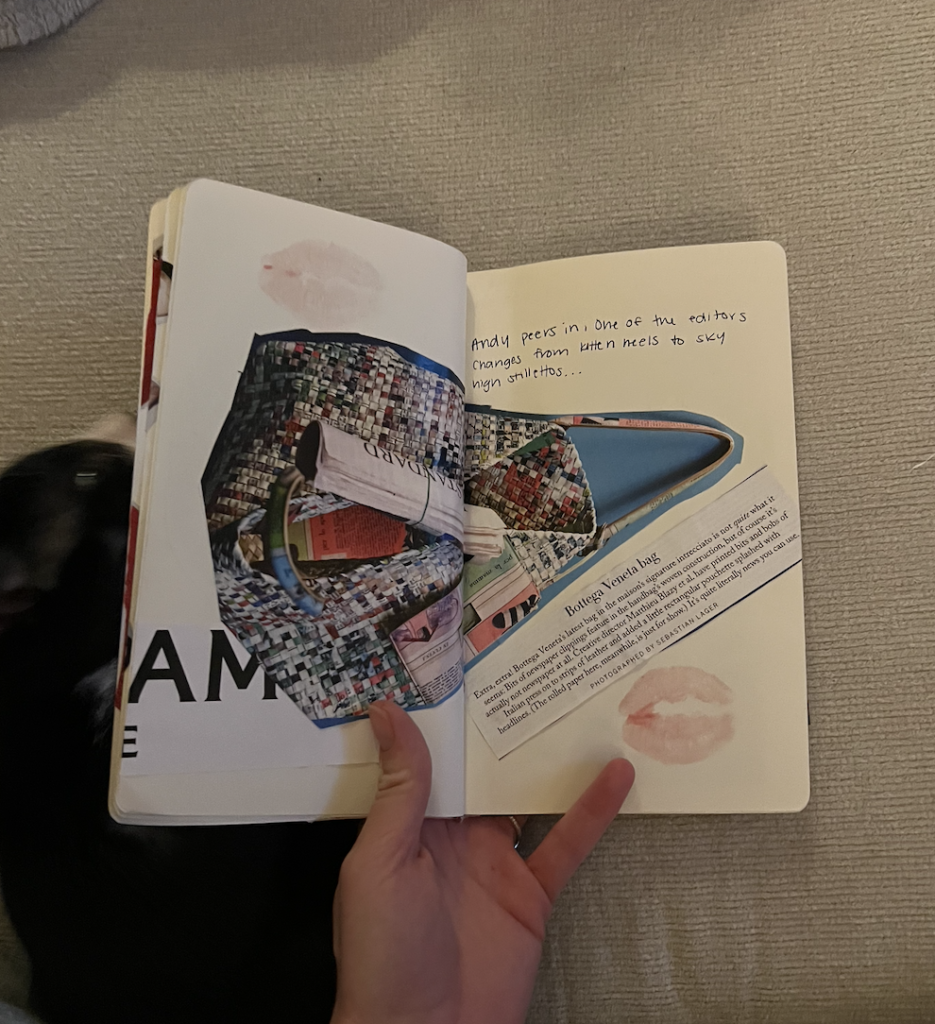
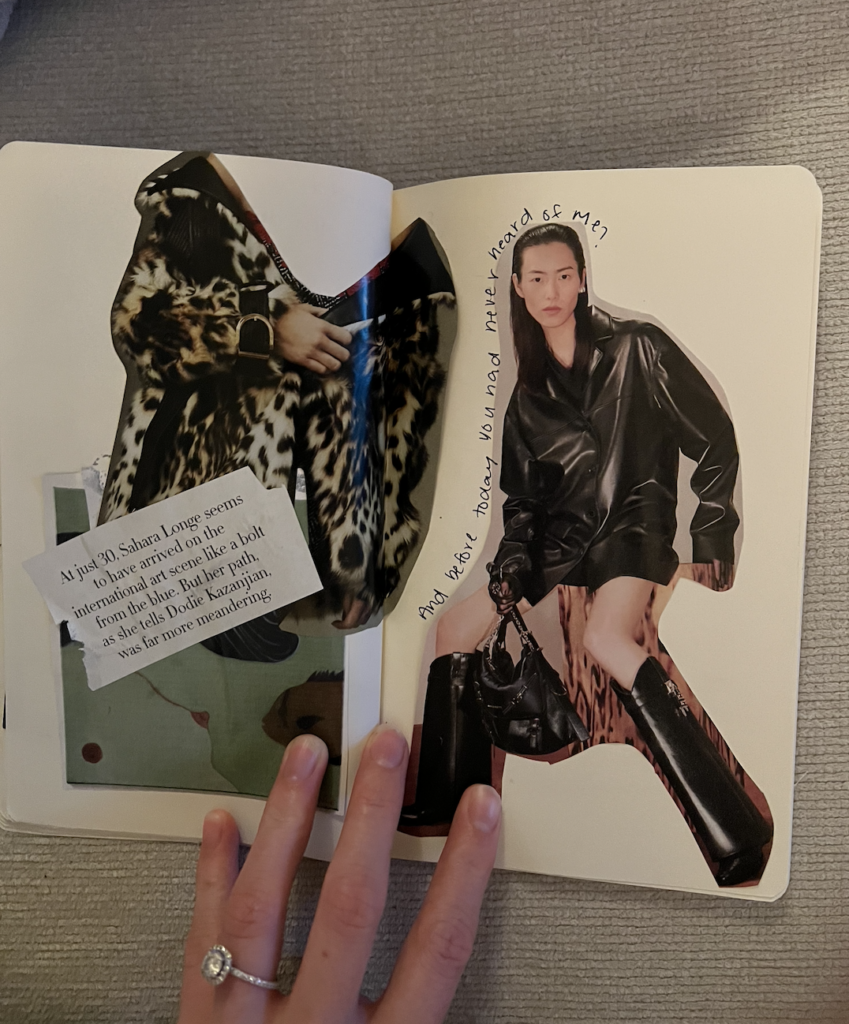
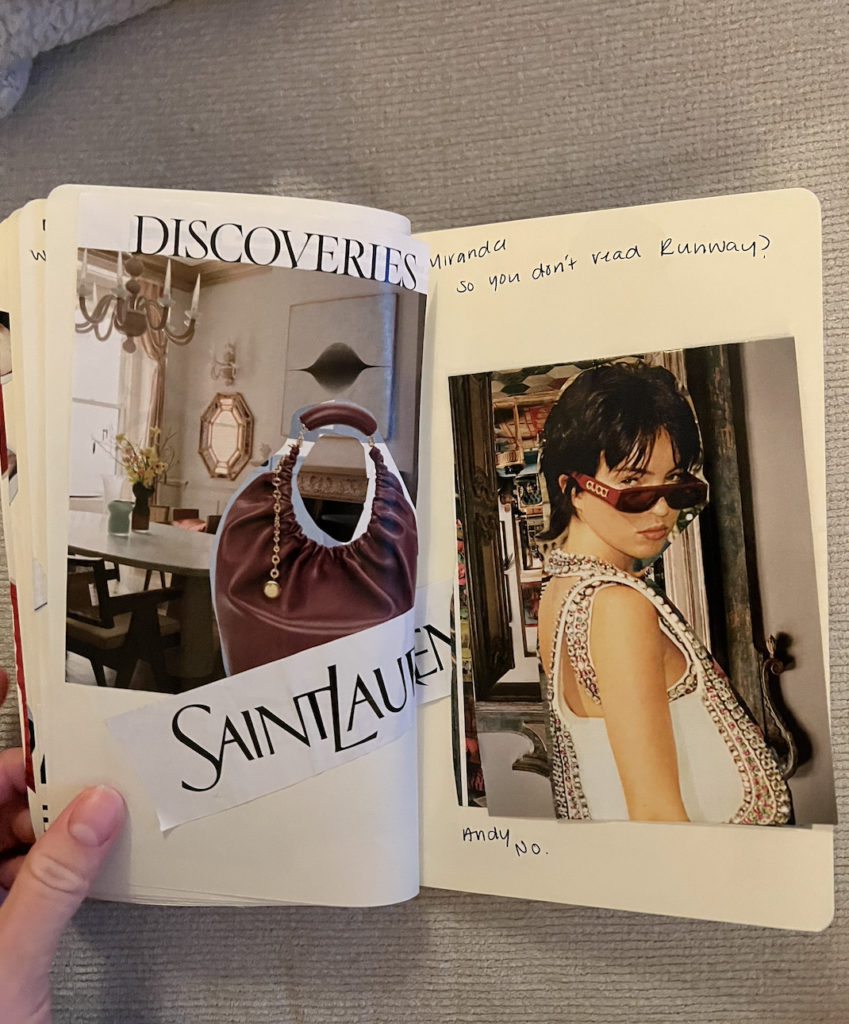
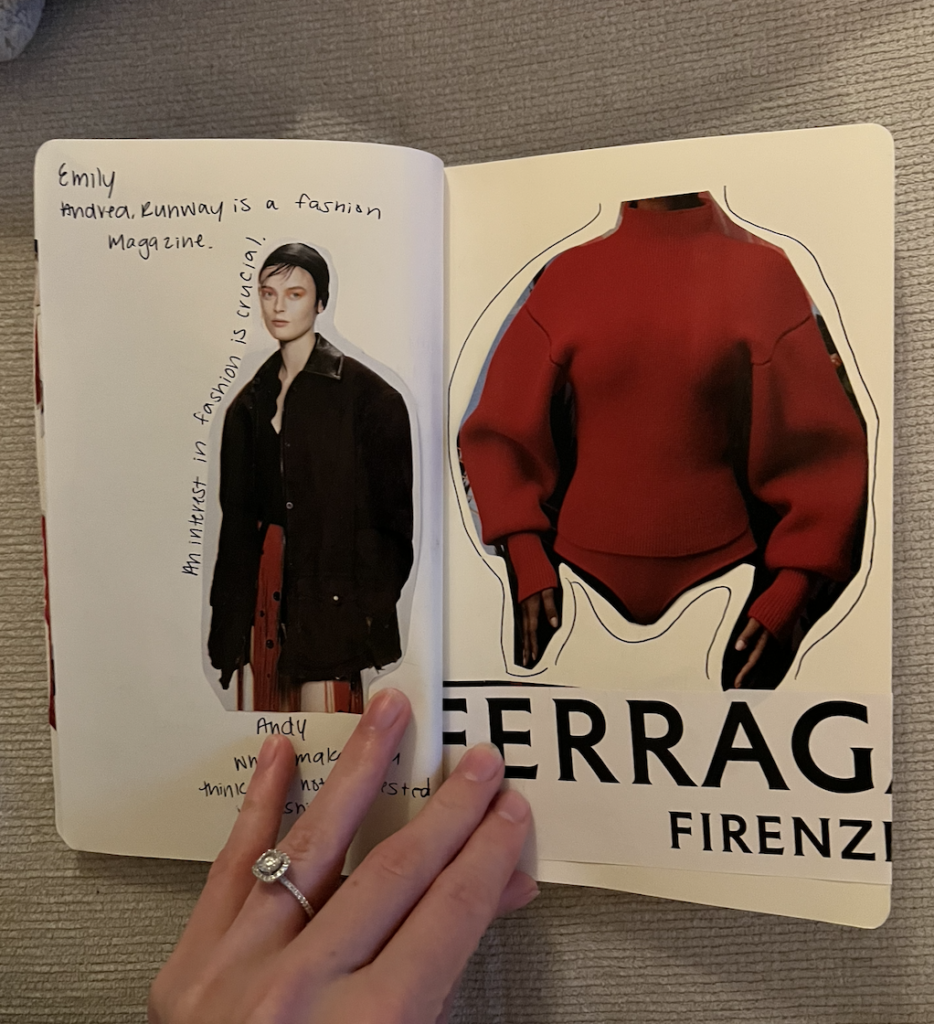
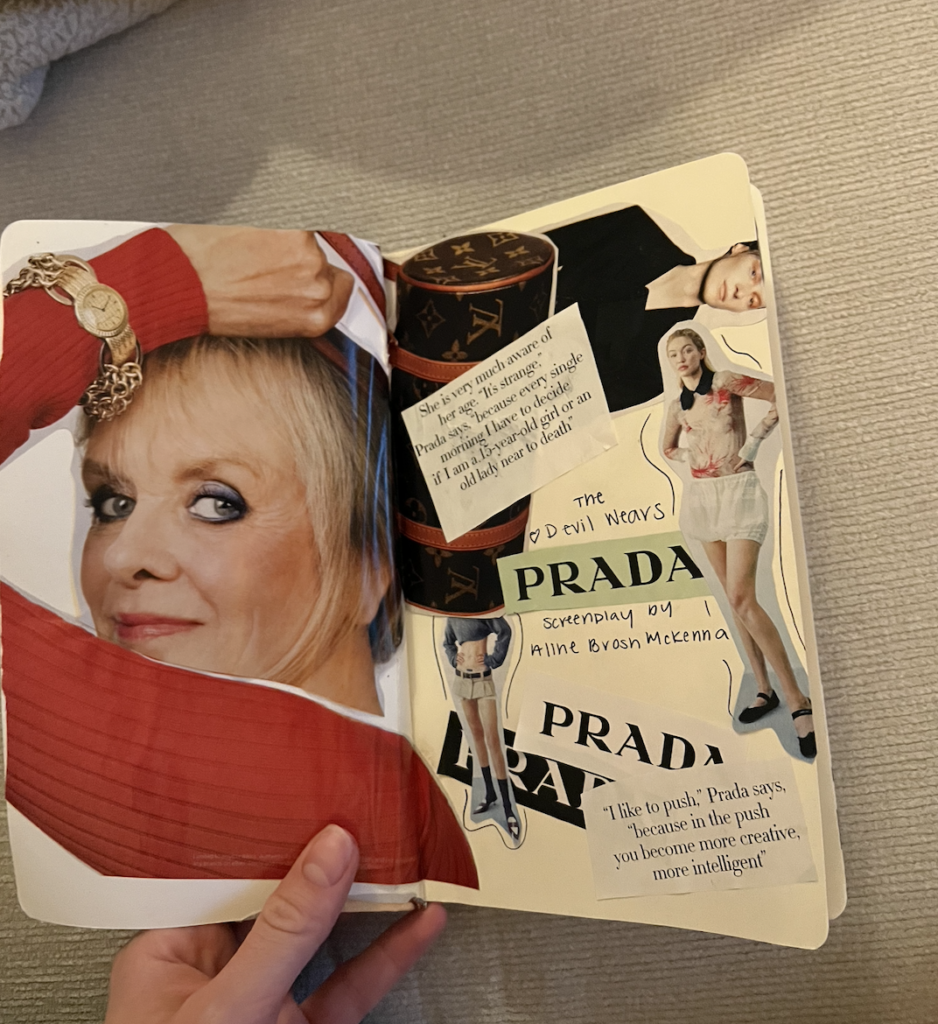
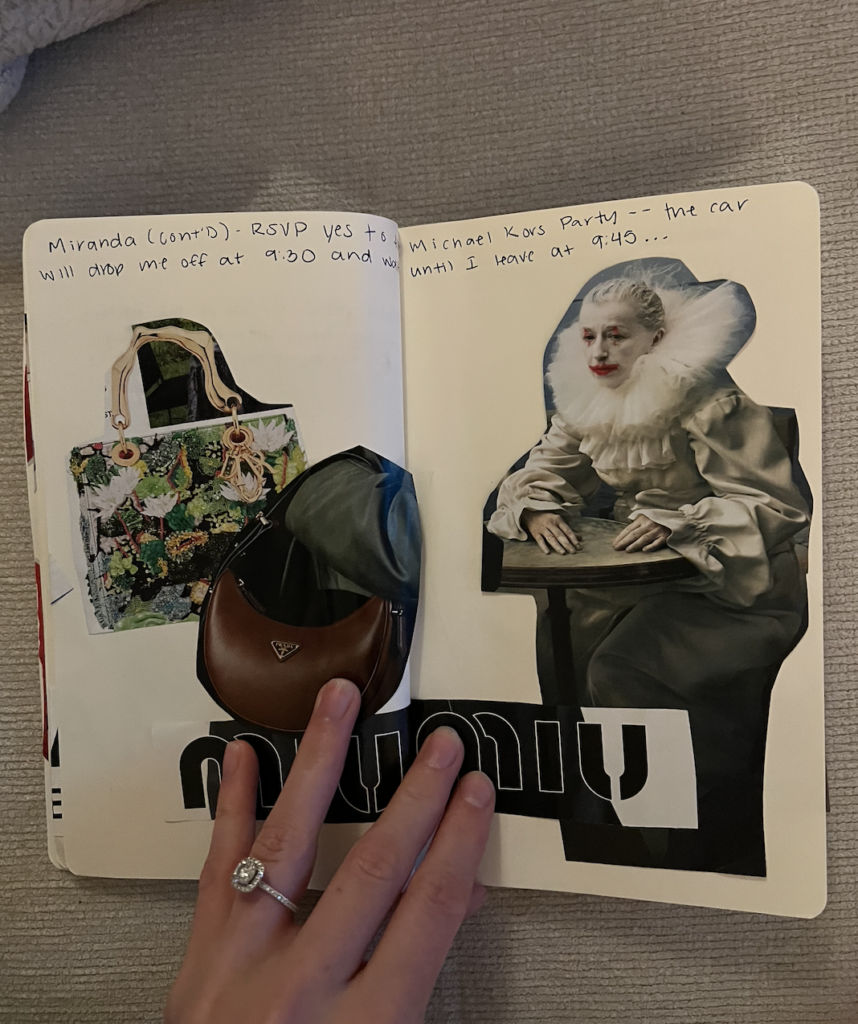
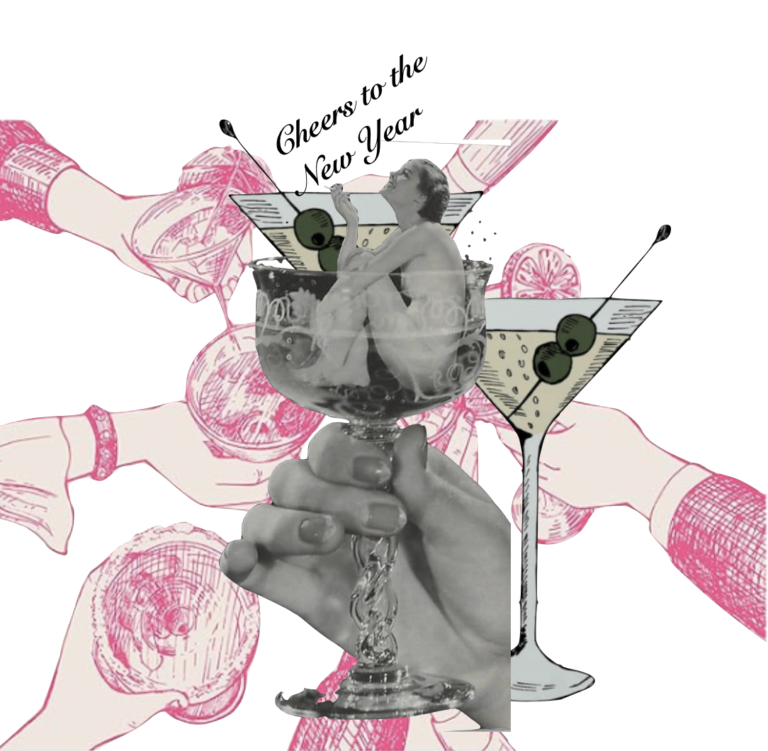
Diary Entries
This is totally up to your creative desires. I just wrote lines from The Devil Wears Prada screenplay to make some example pages, which was really fun! It would be so cute to do this and use actual photos of yourself & friends mixed in with the magazine clippings.
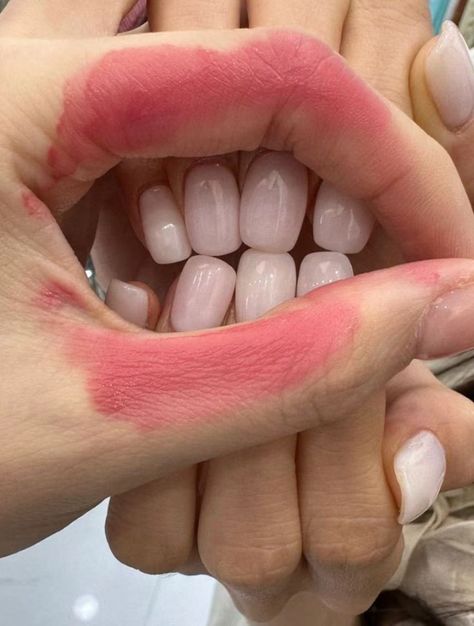
Loved the kisses, I wish I would have used a darker lip.
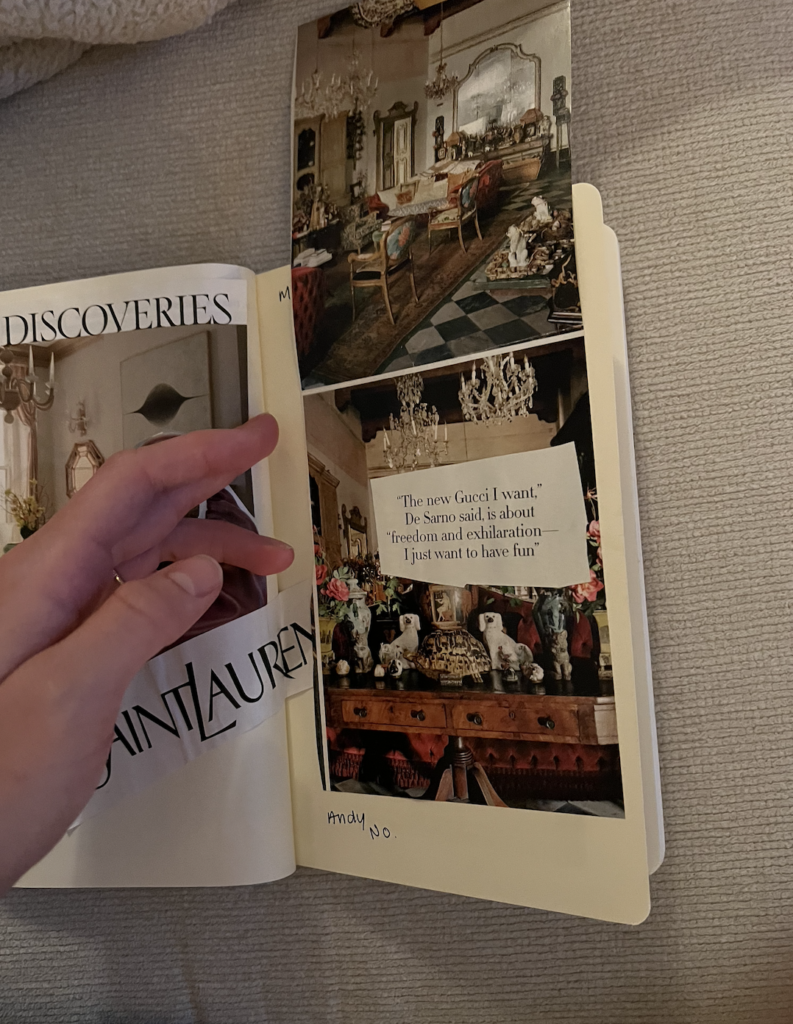
I made the right side here a flip up (see next photo) which is a sneaky way to keep things interesting.
How cute would it be if you filled one of these journals with pictures of you and your bestie and gave it as a gift. You could write in movie quotes or lyrics that remind you of them, and add in cute clippings of course, I would die. Just a thought!
Tag whatsfresh.blog on Instagram if you recreate any of these crafts!